参考链接:
背景:
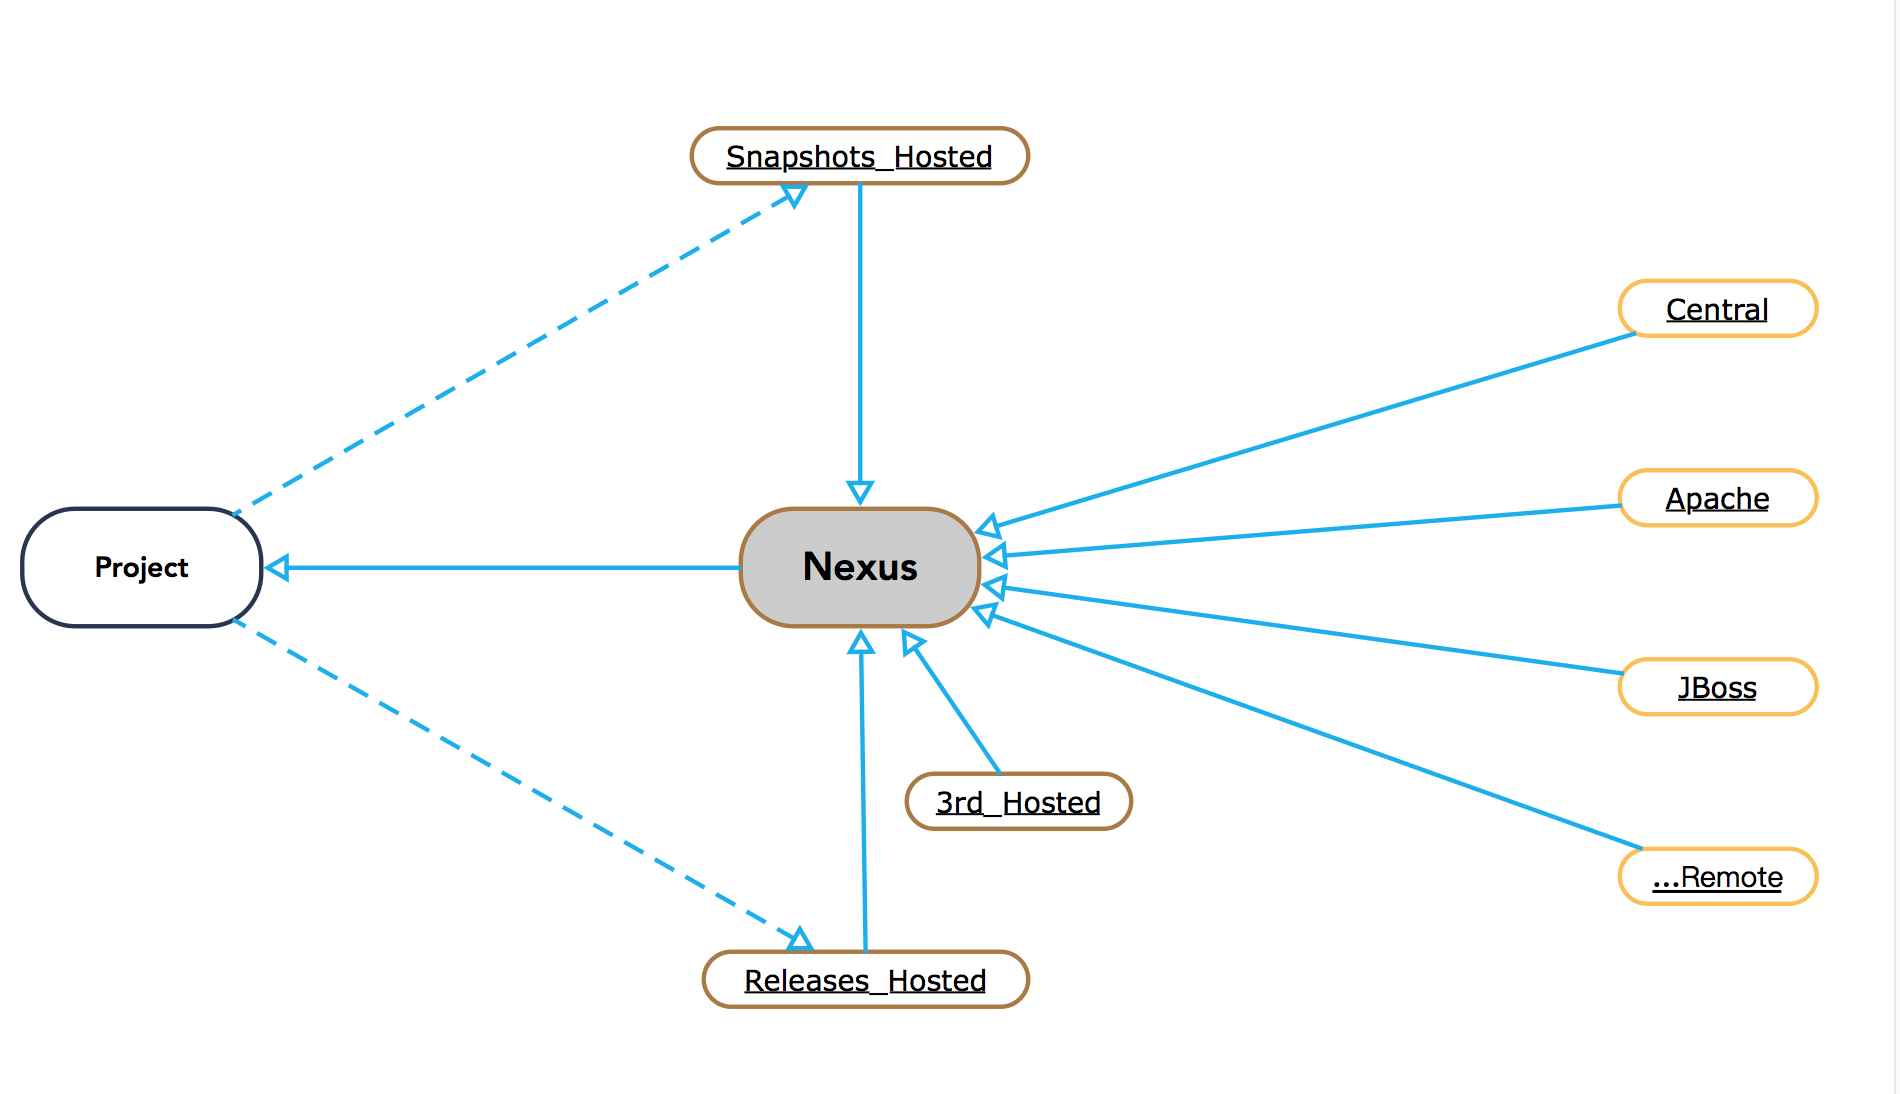
随着公司前端团队的扩大,需要拆分出公司基础模块供其它项目使用,使用Nexus3搭建公司npm私服。
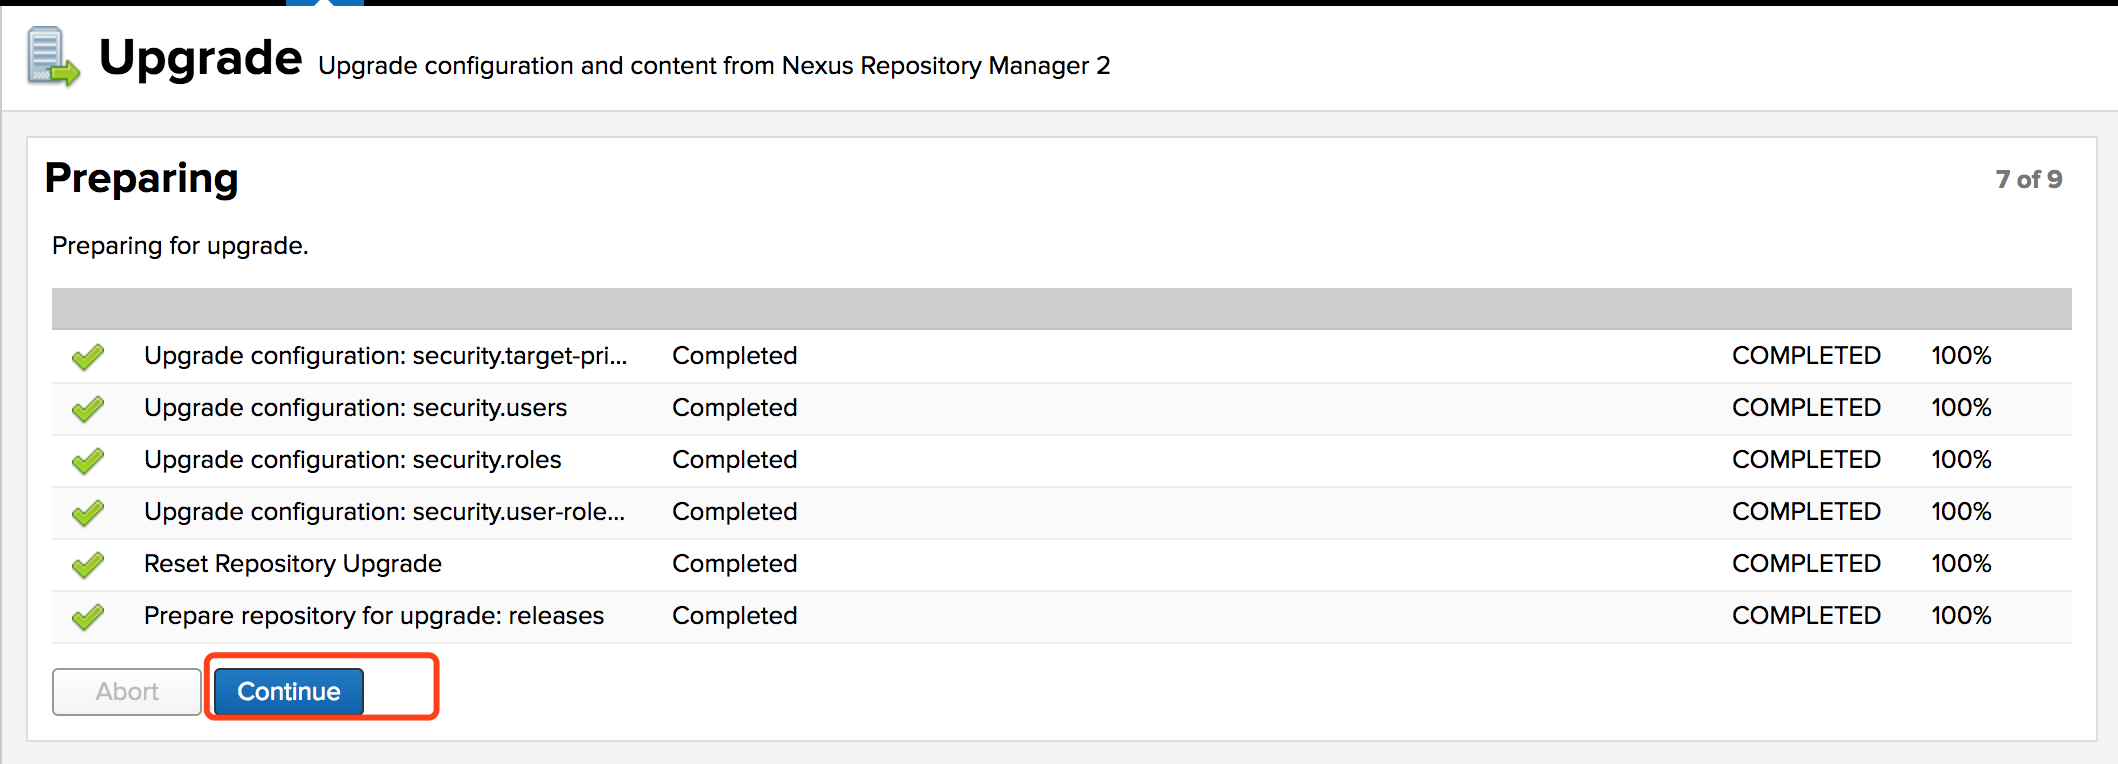
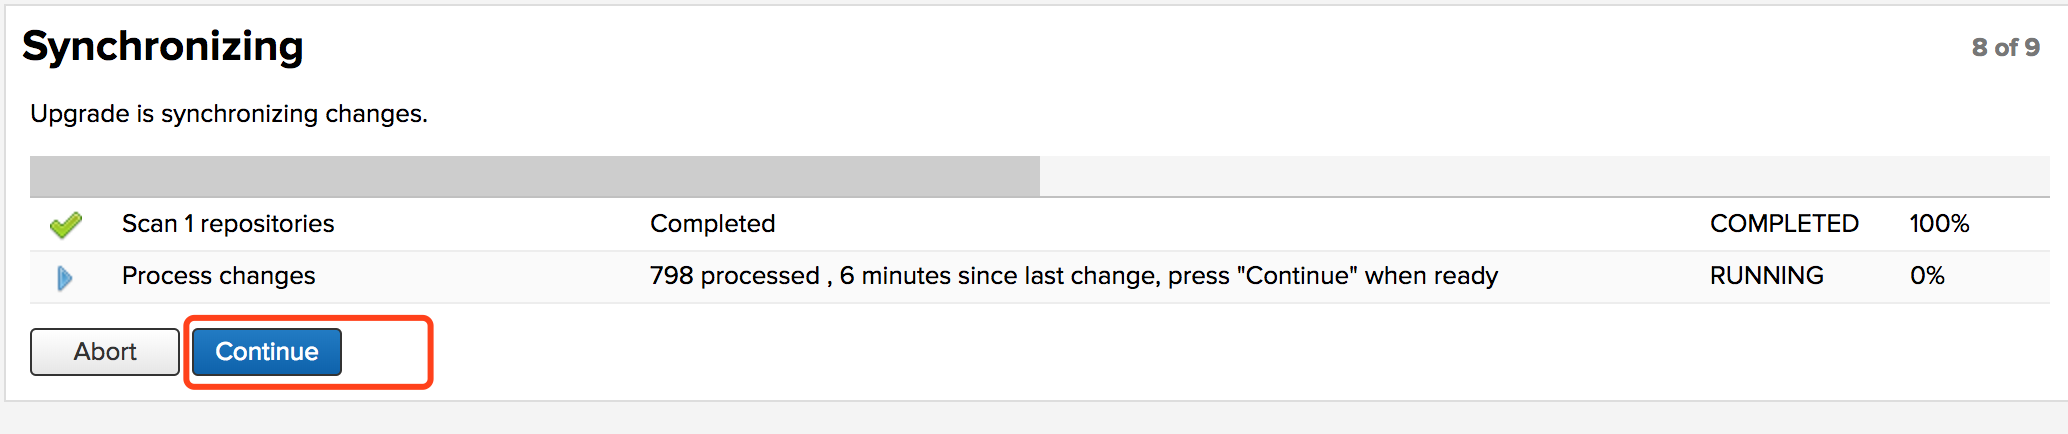
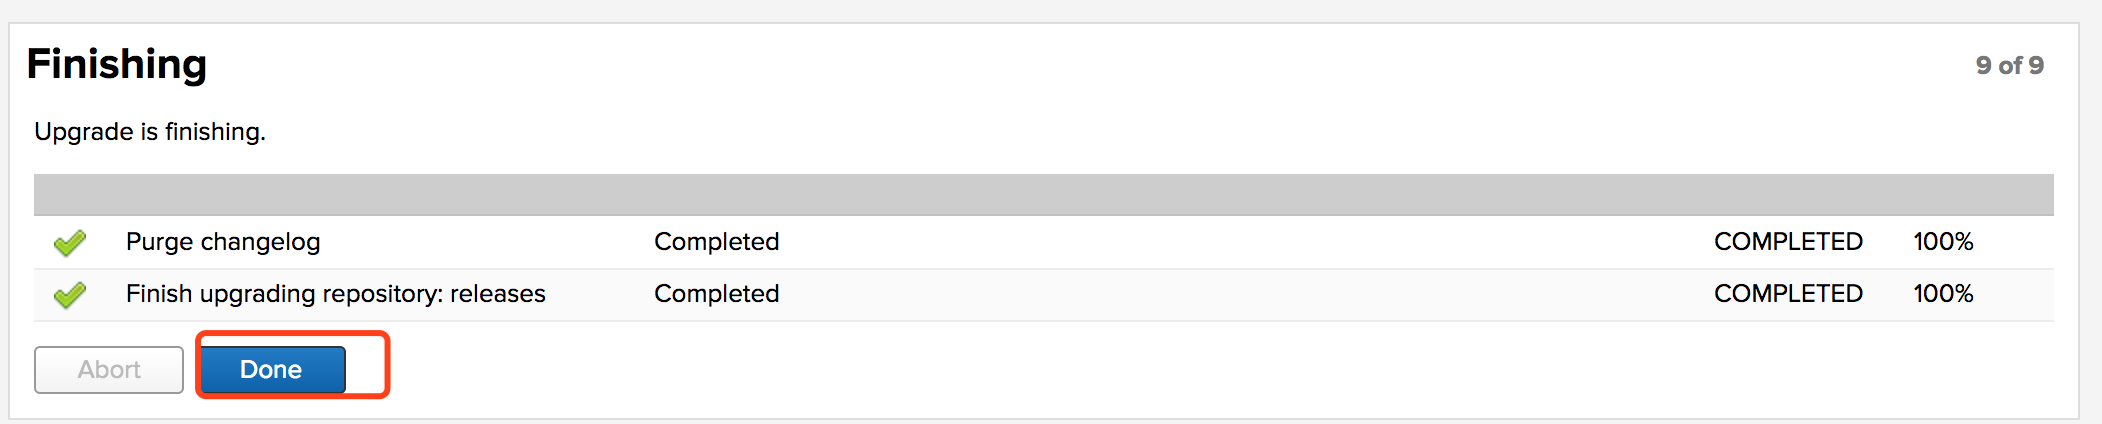
搭建步骤:
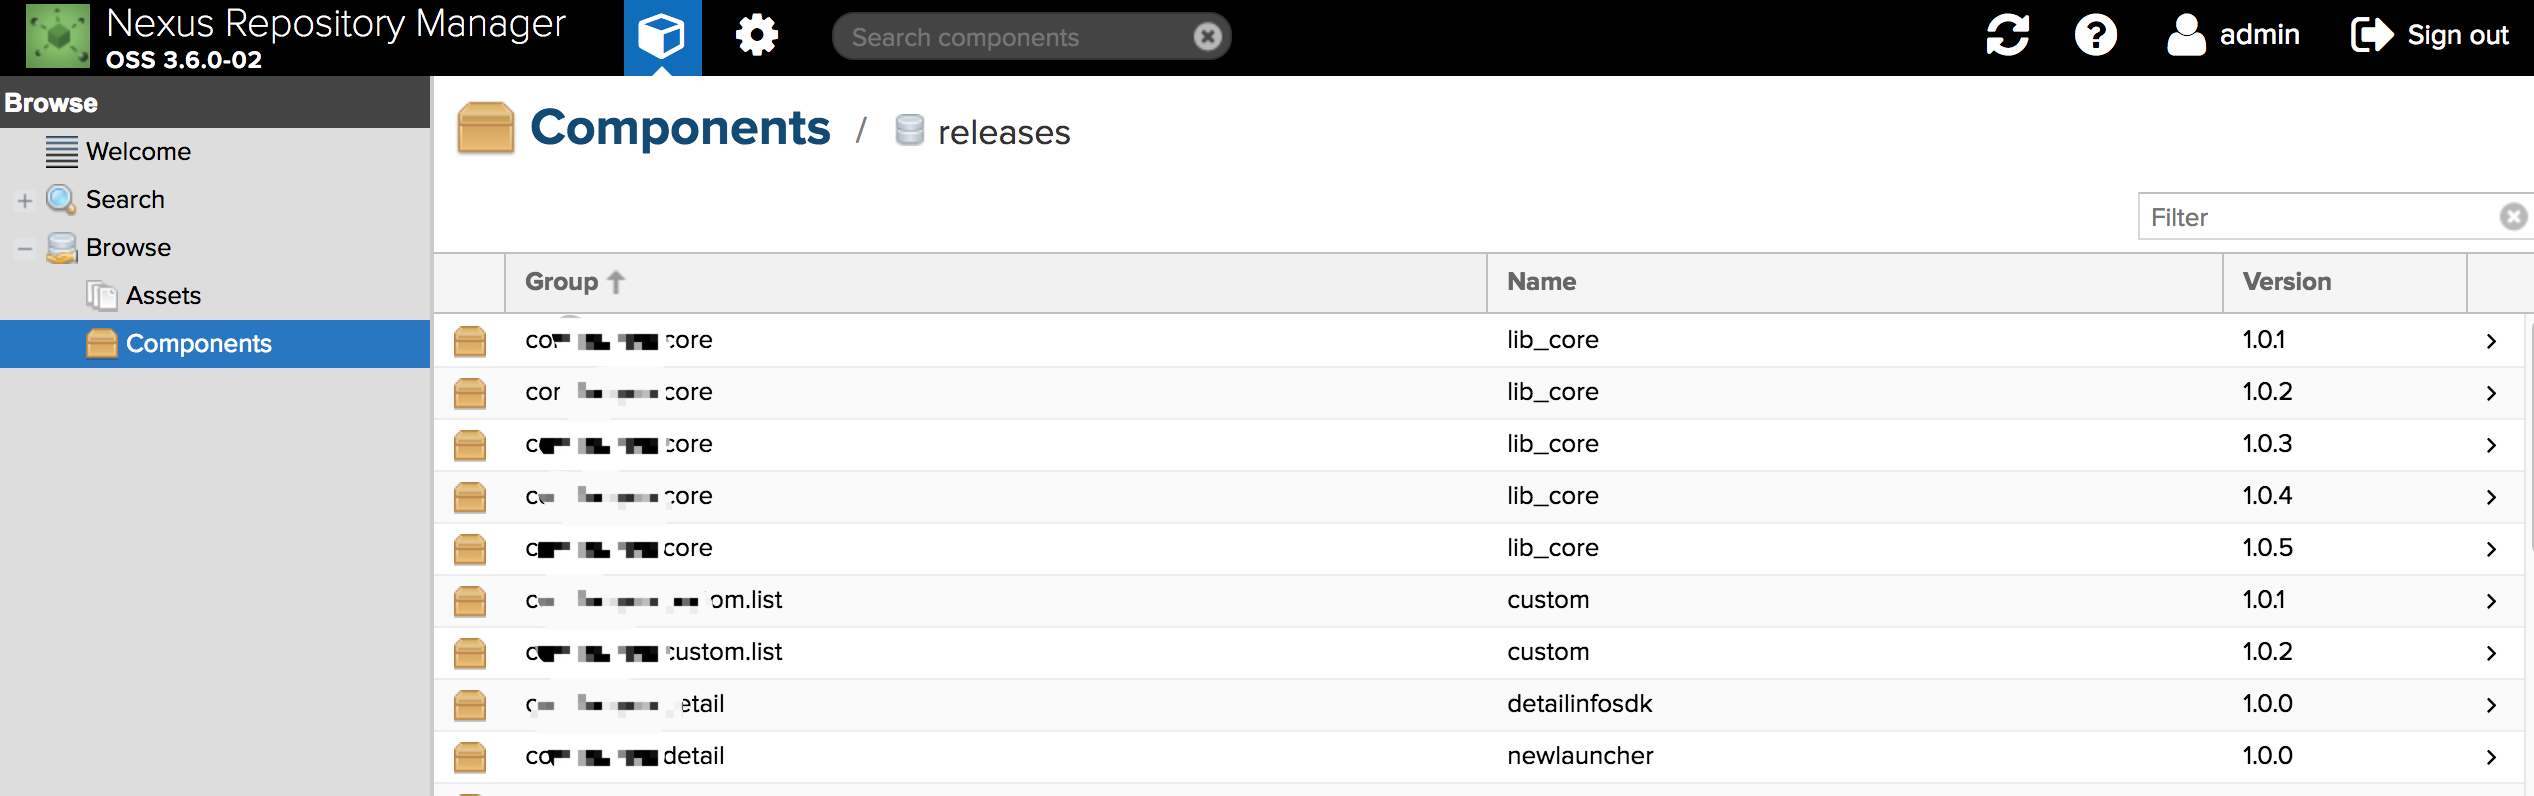
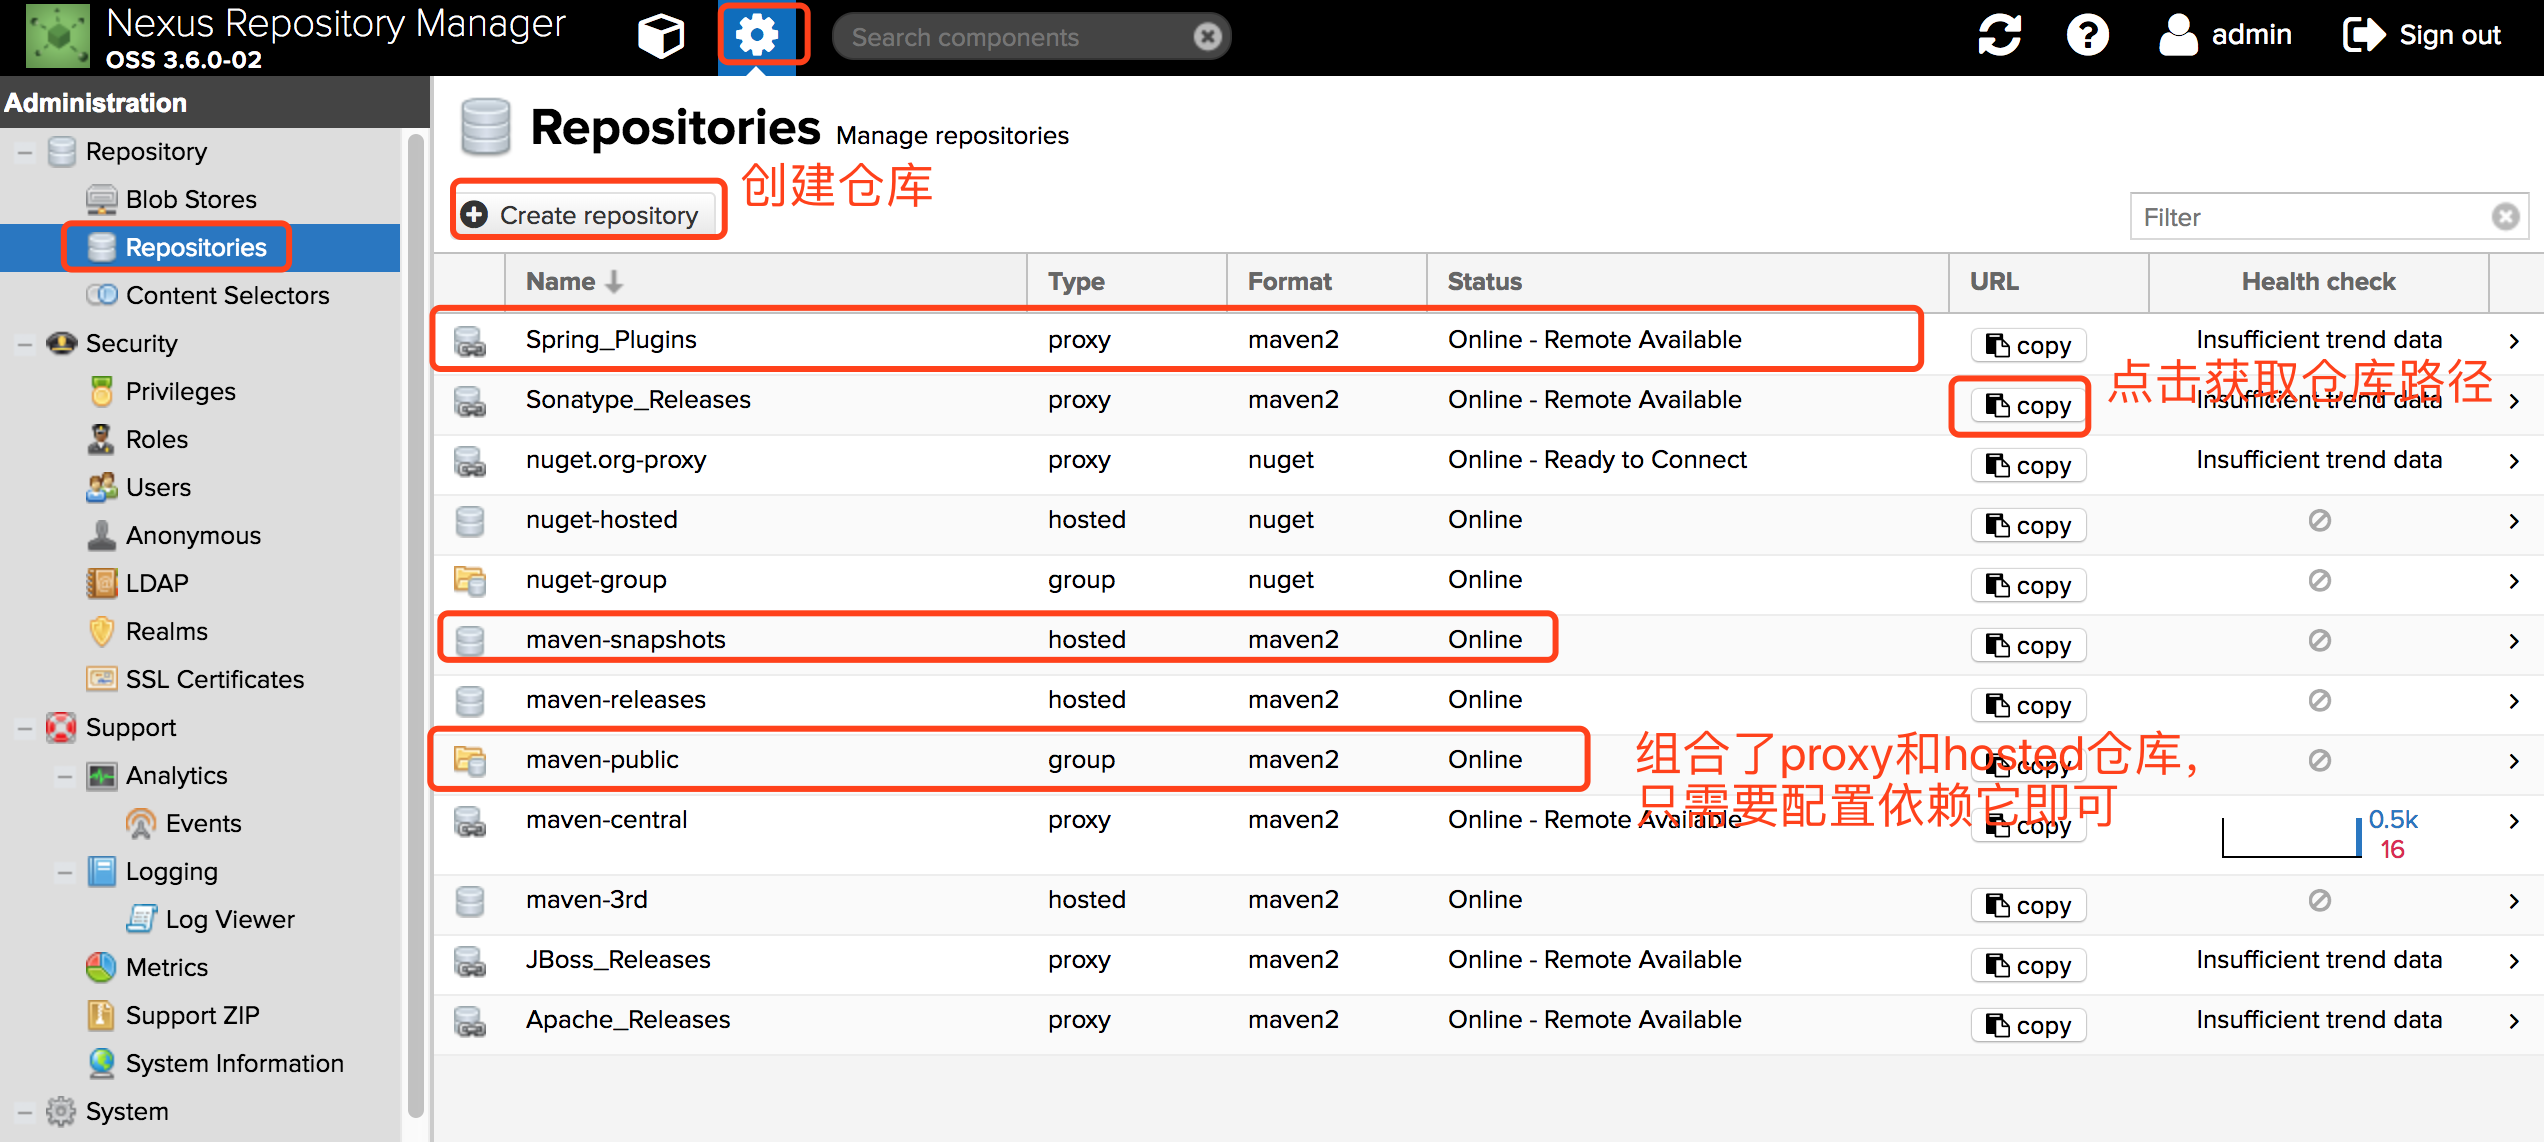
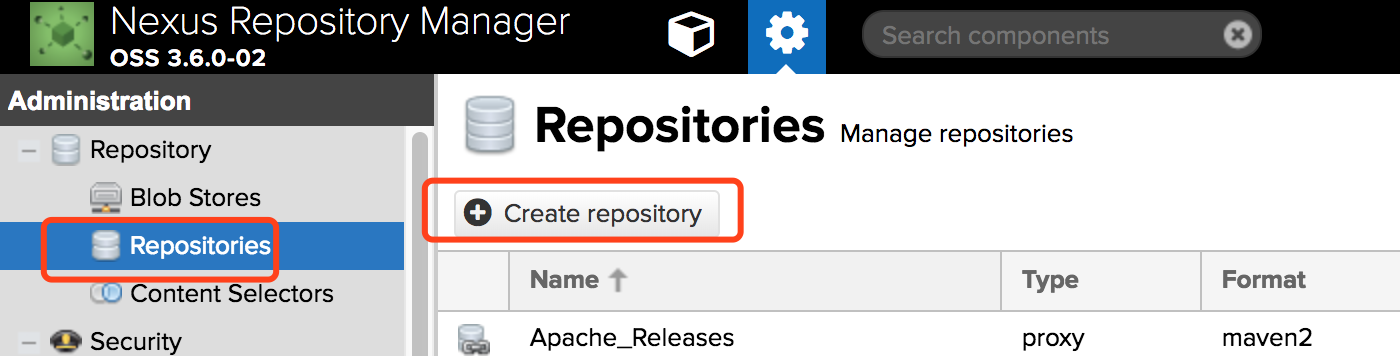
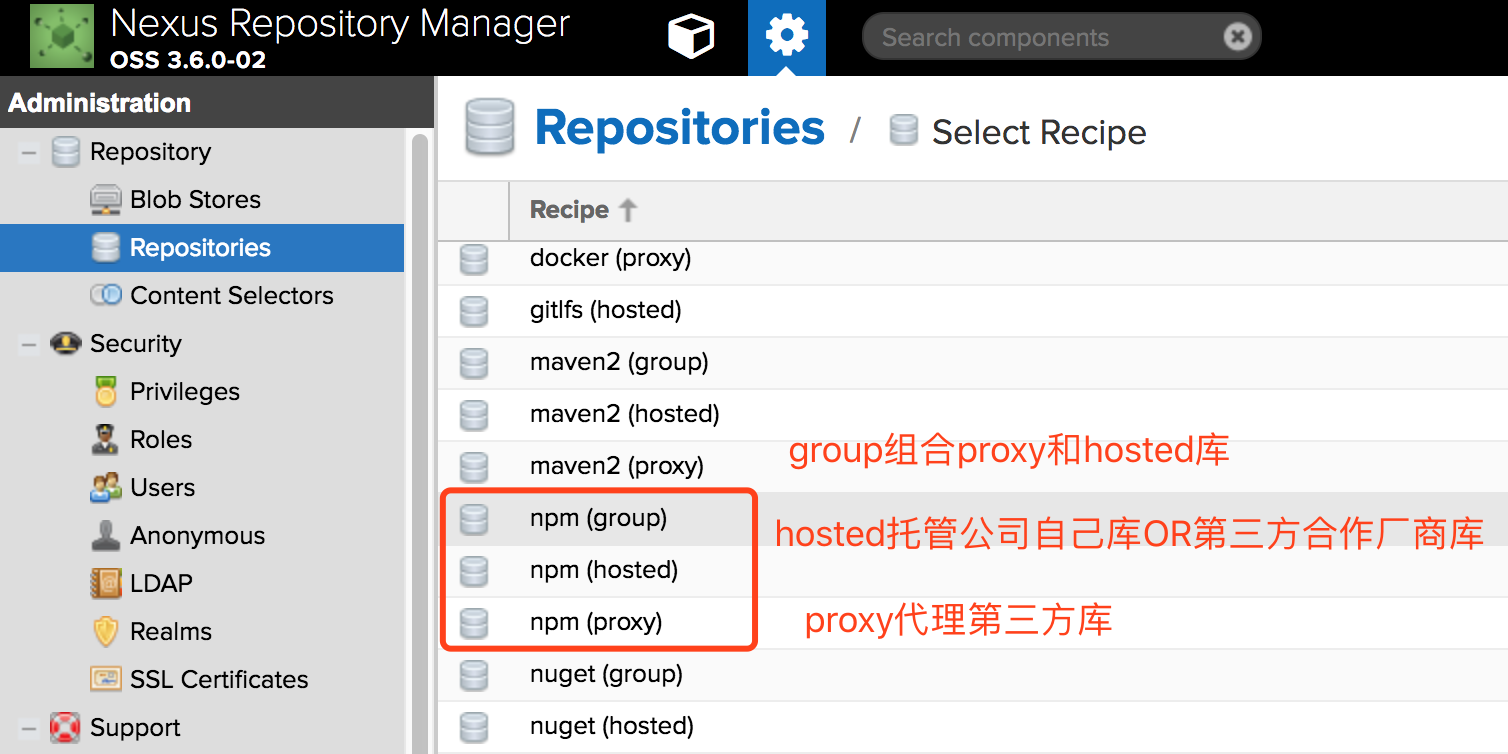
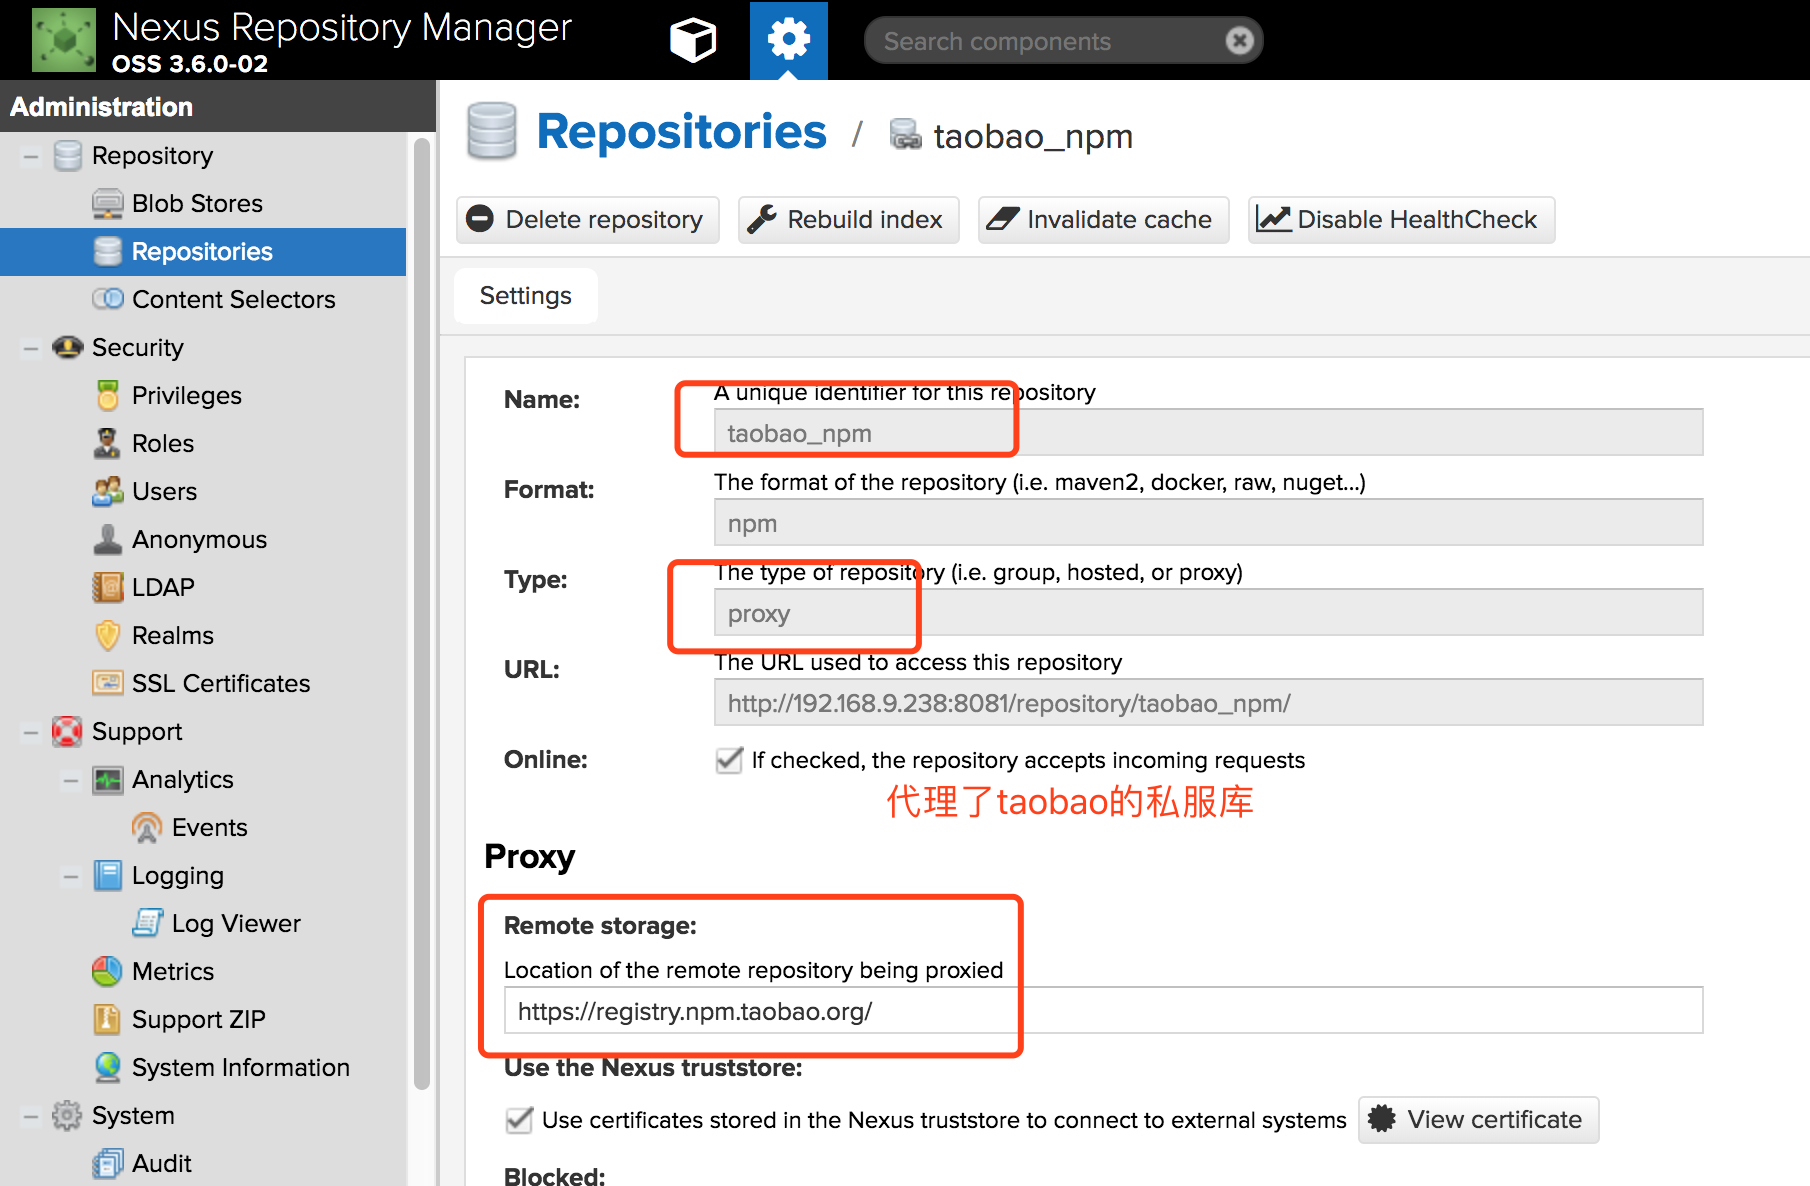
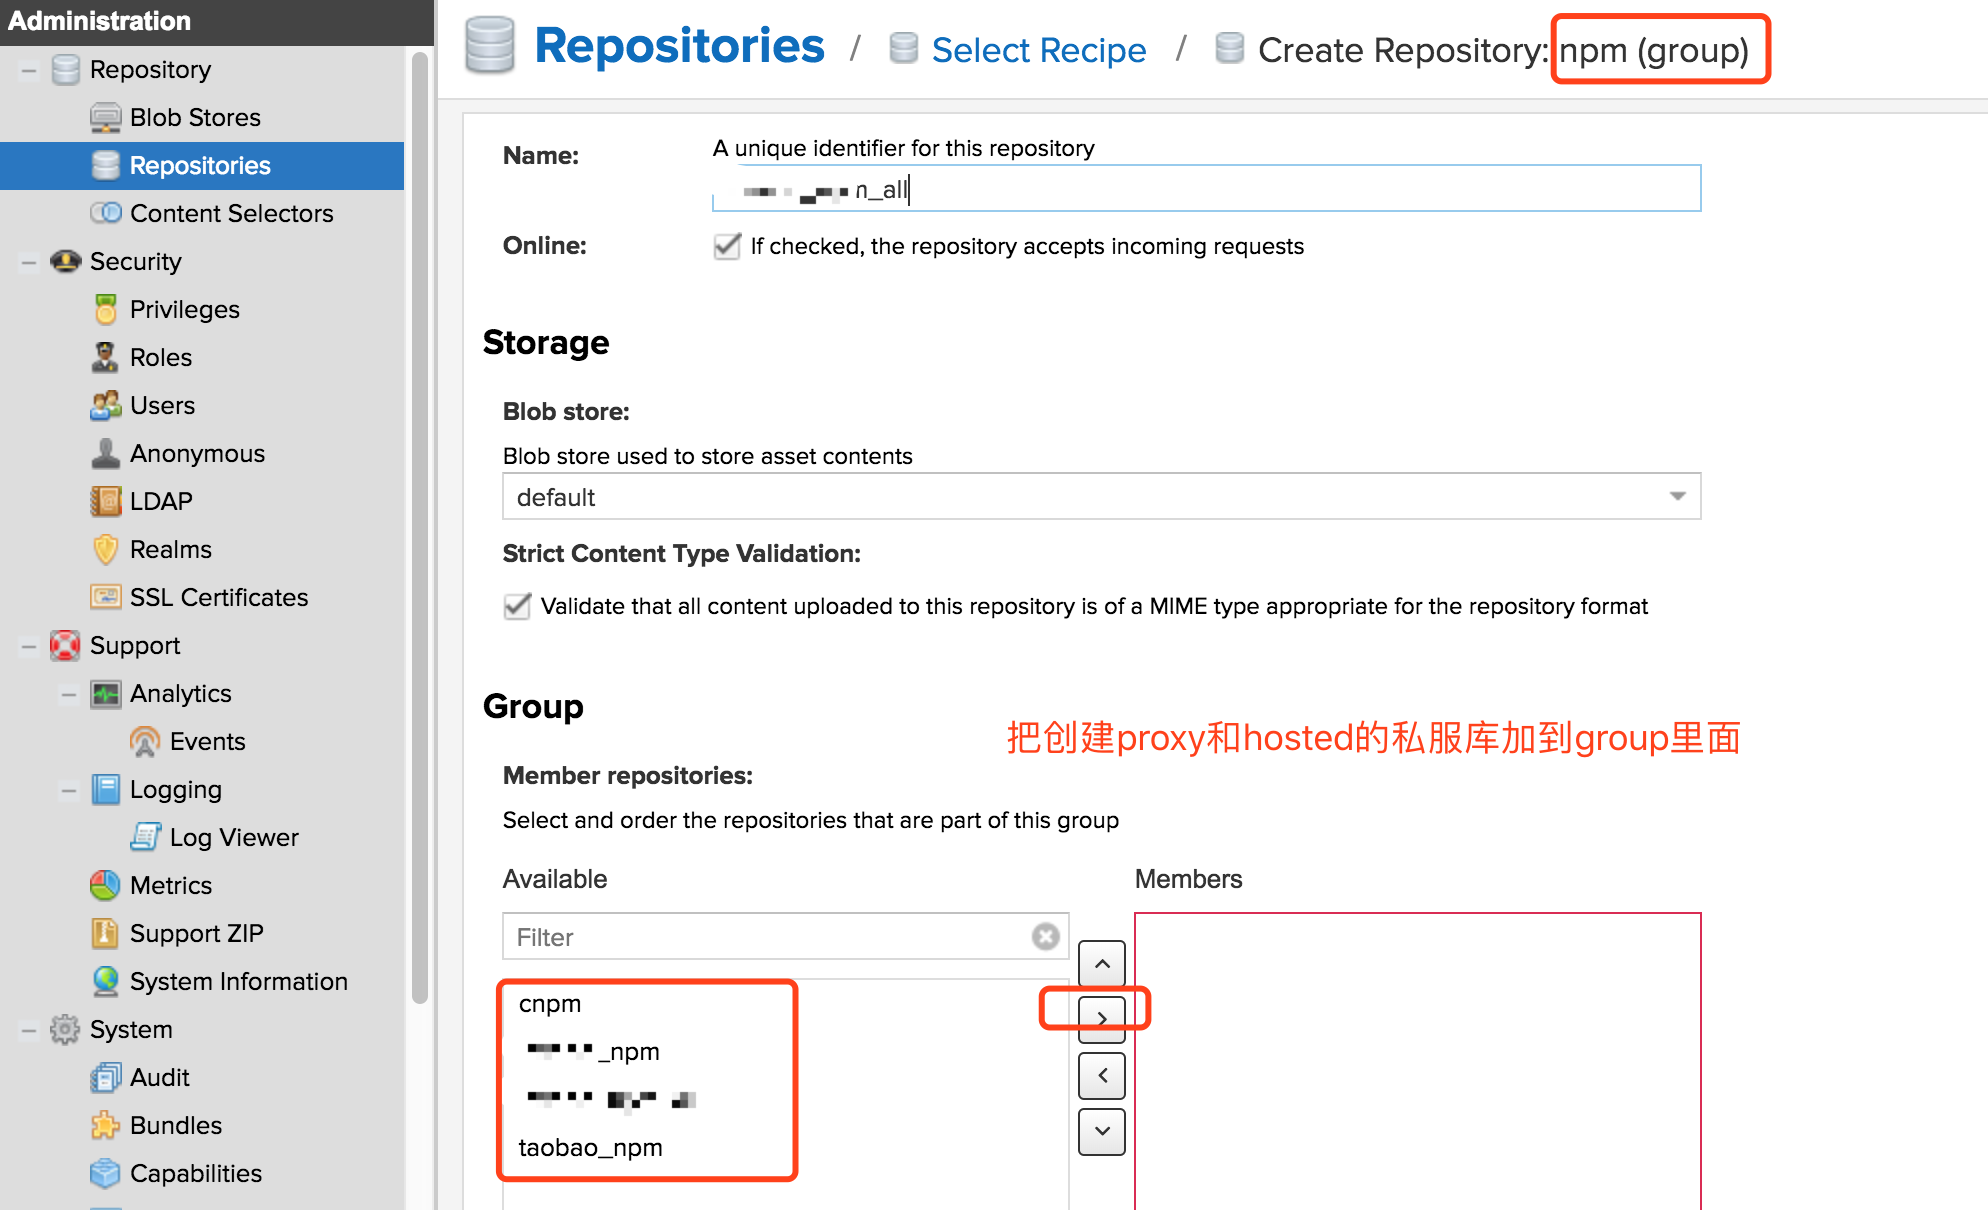
1. 创建npm库:
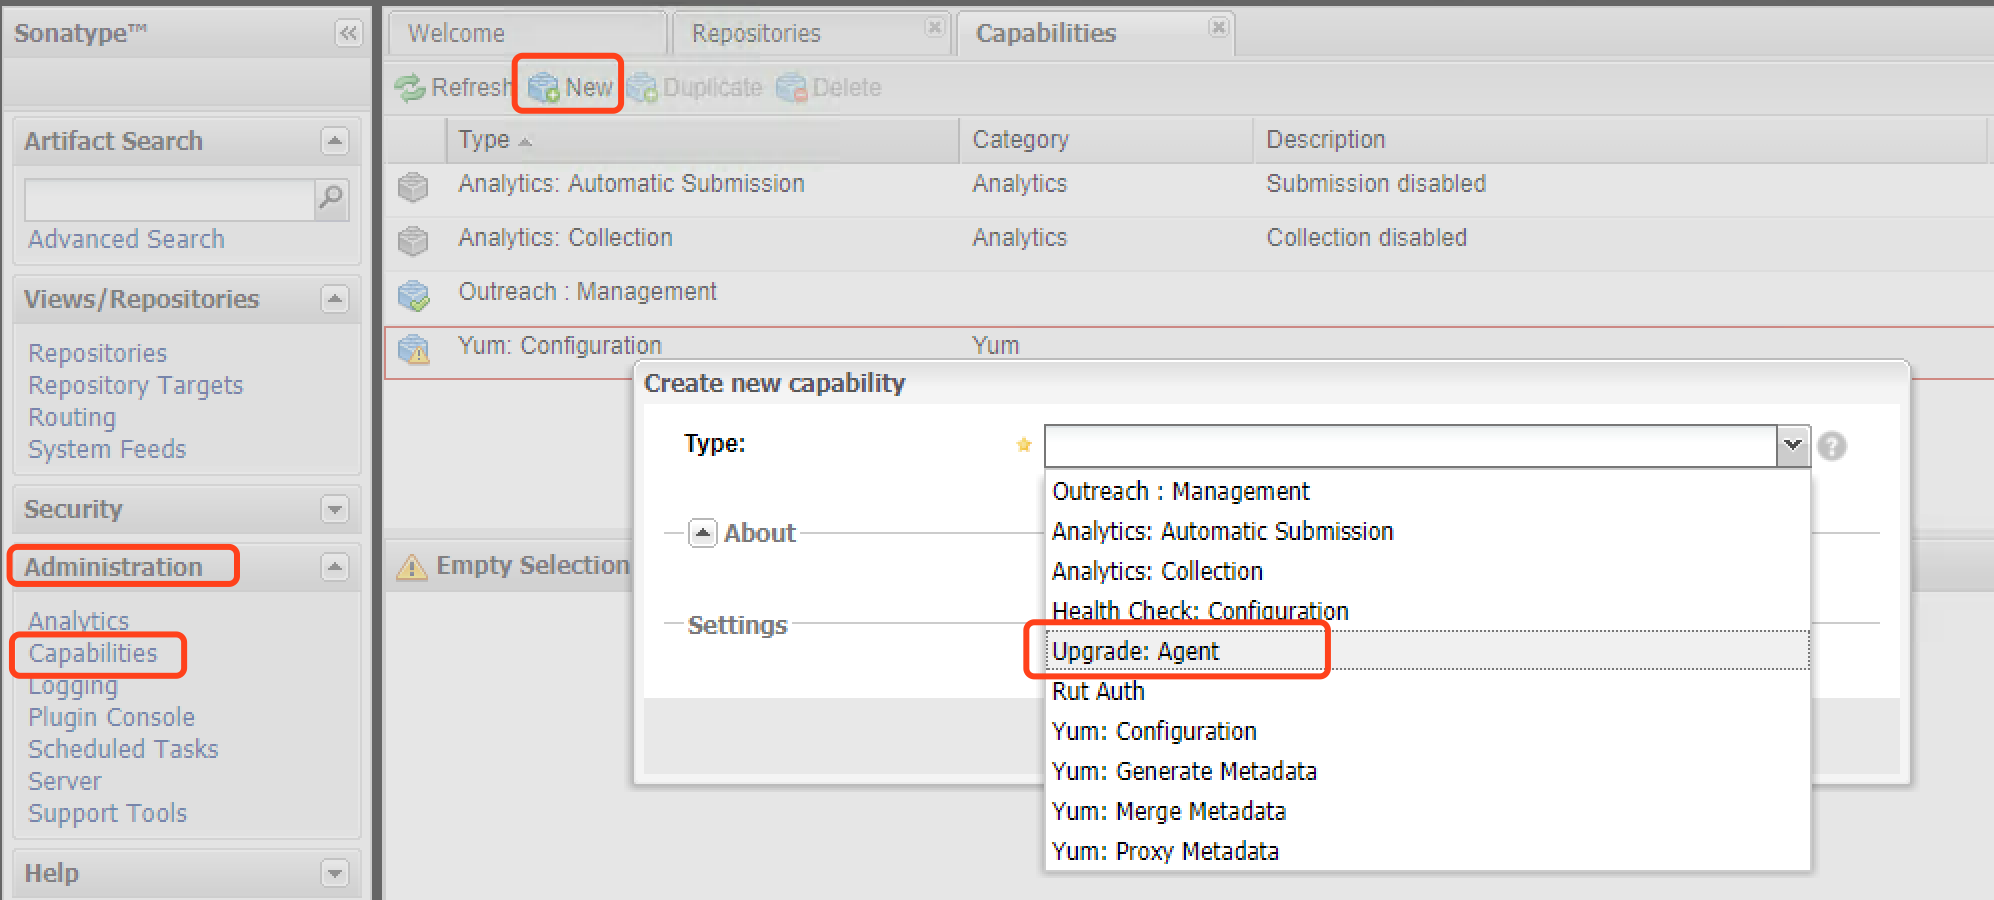
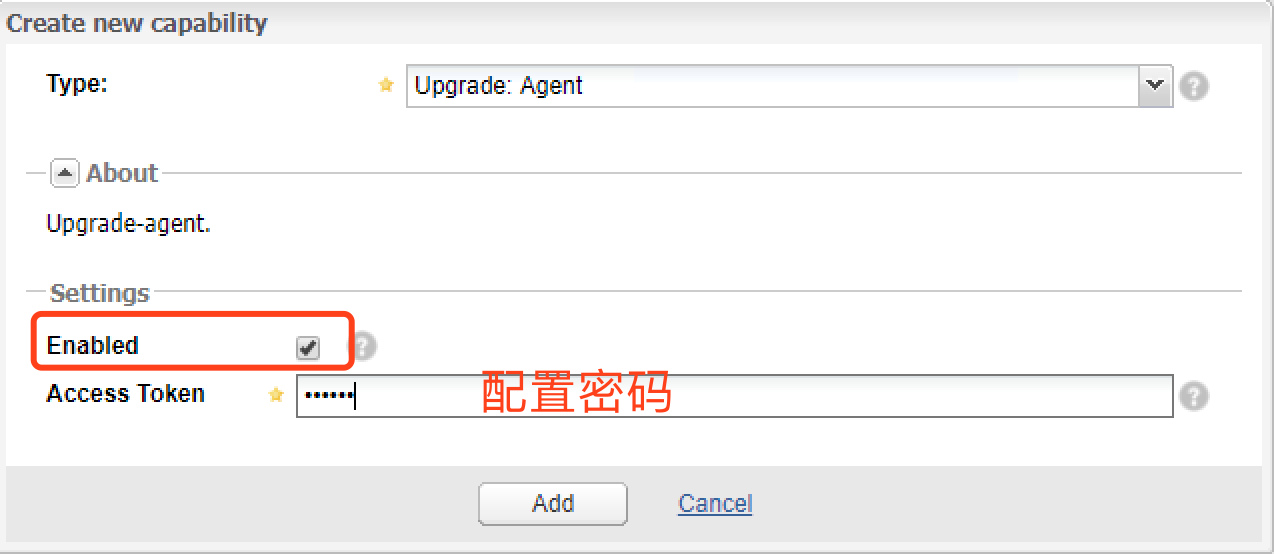
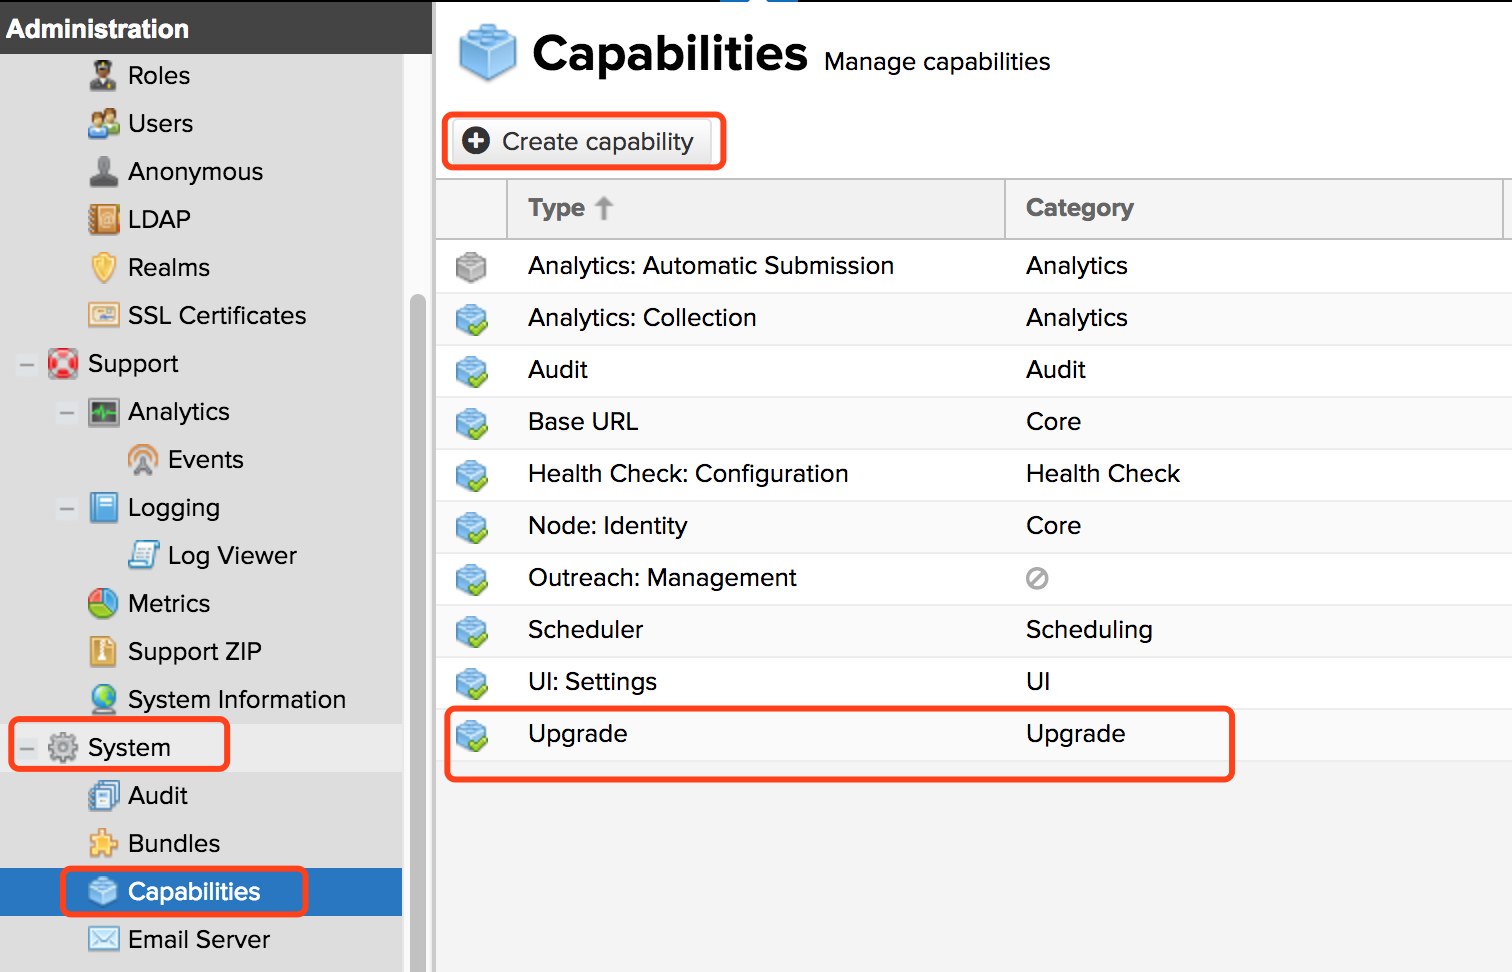
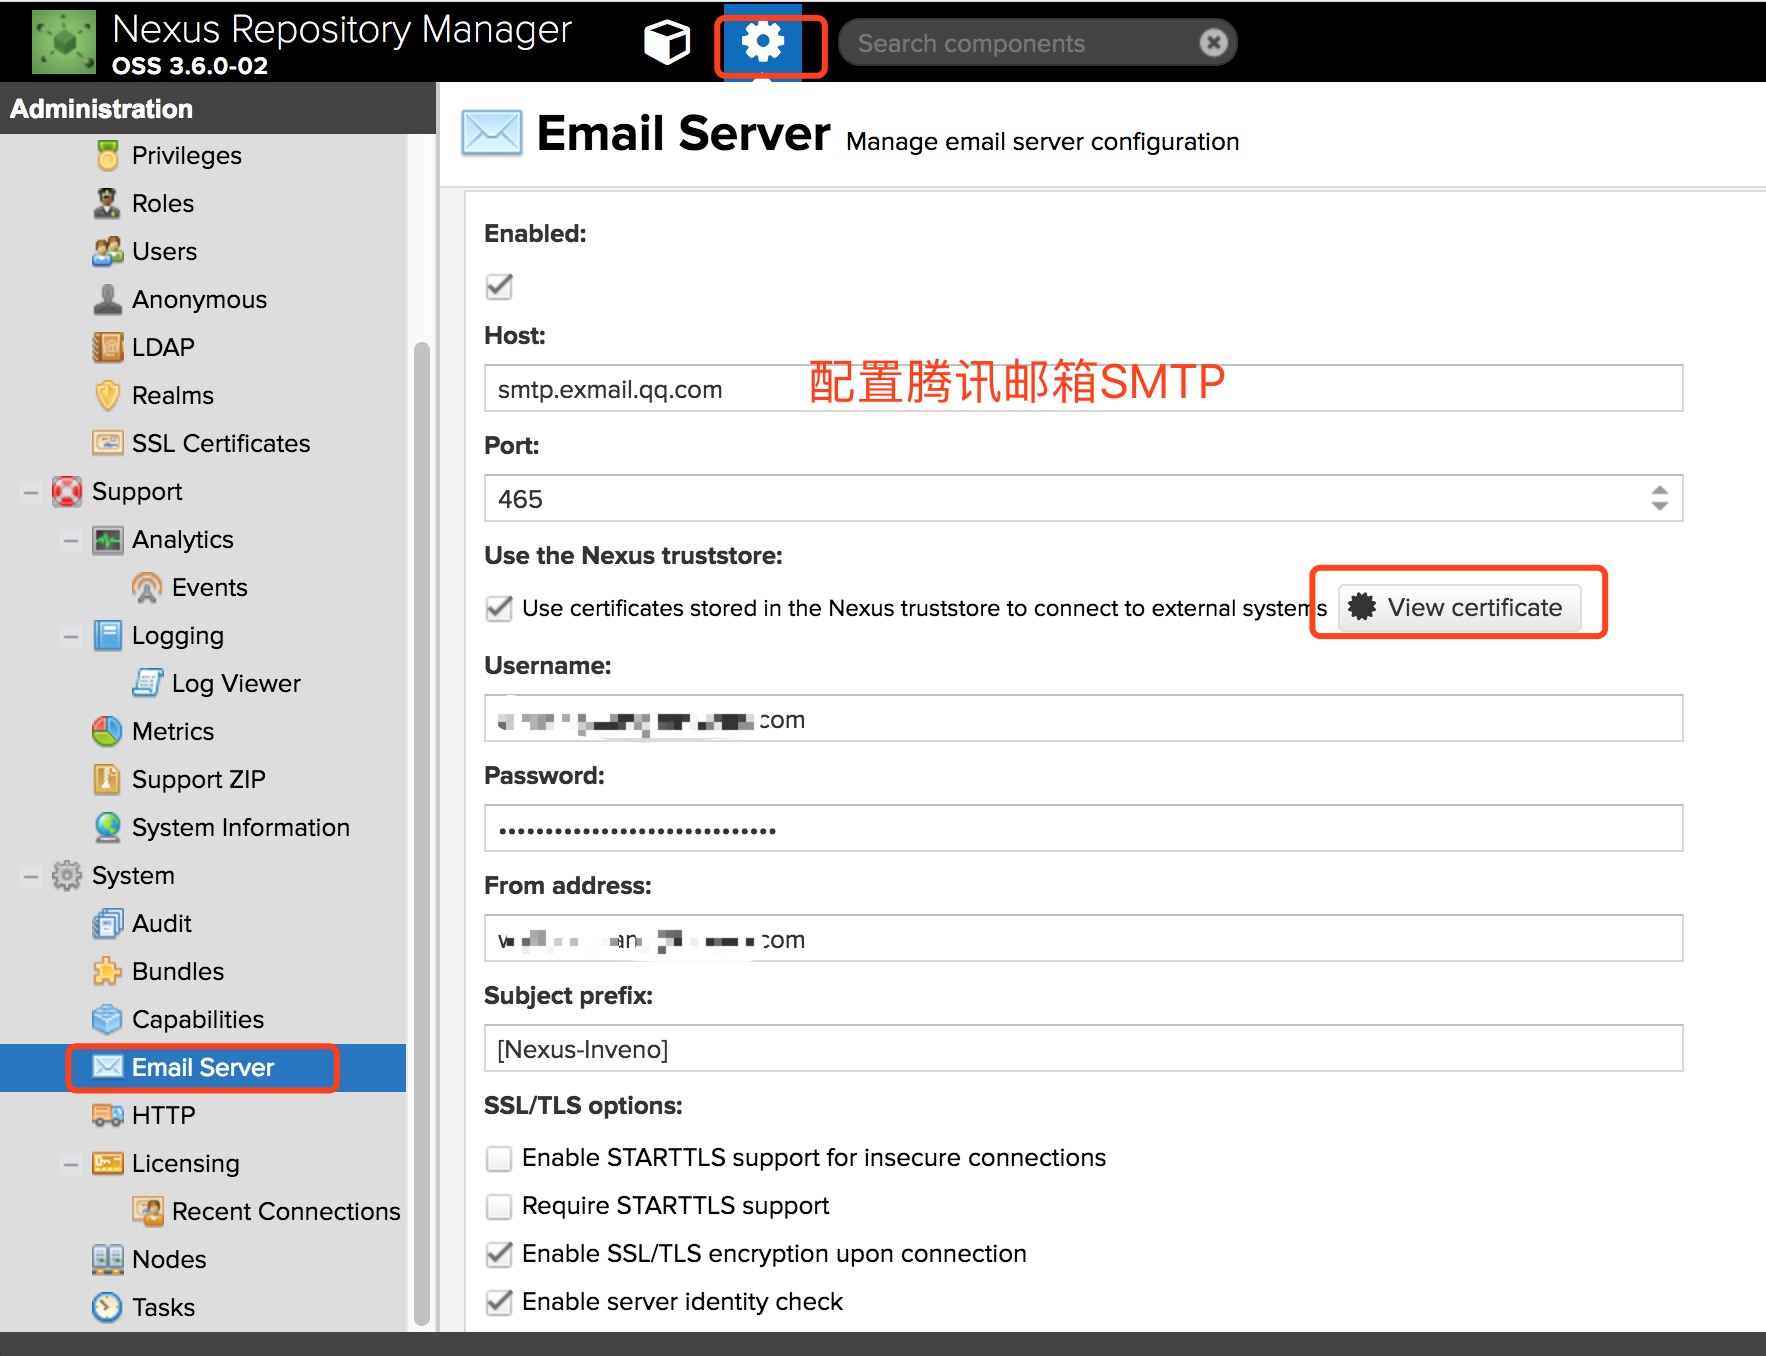
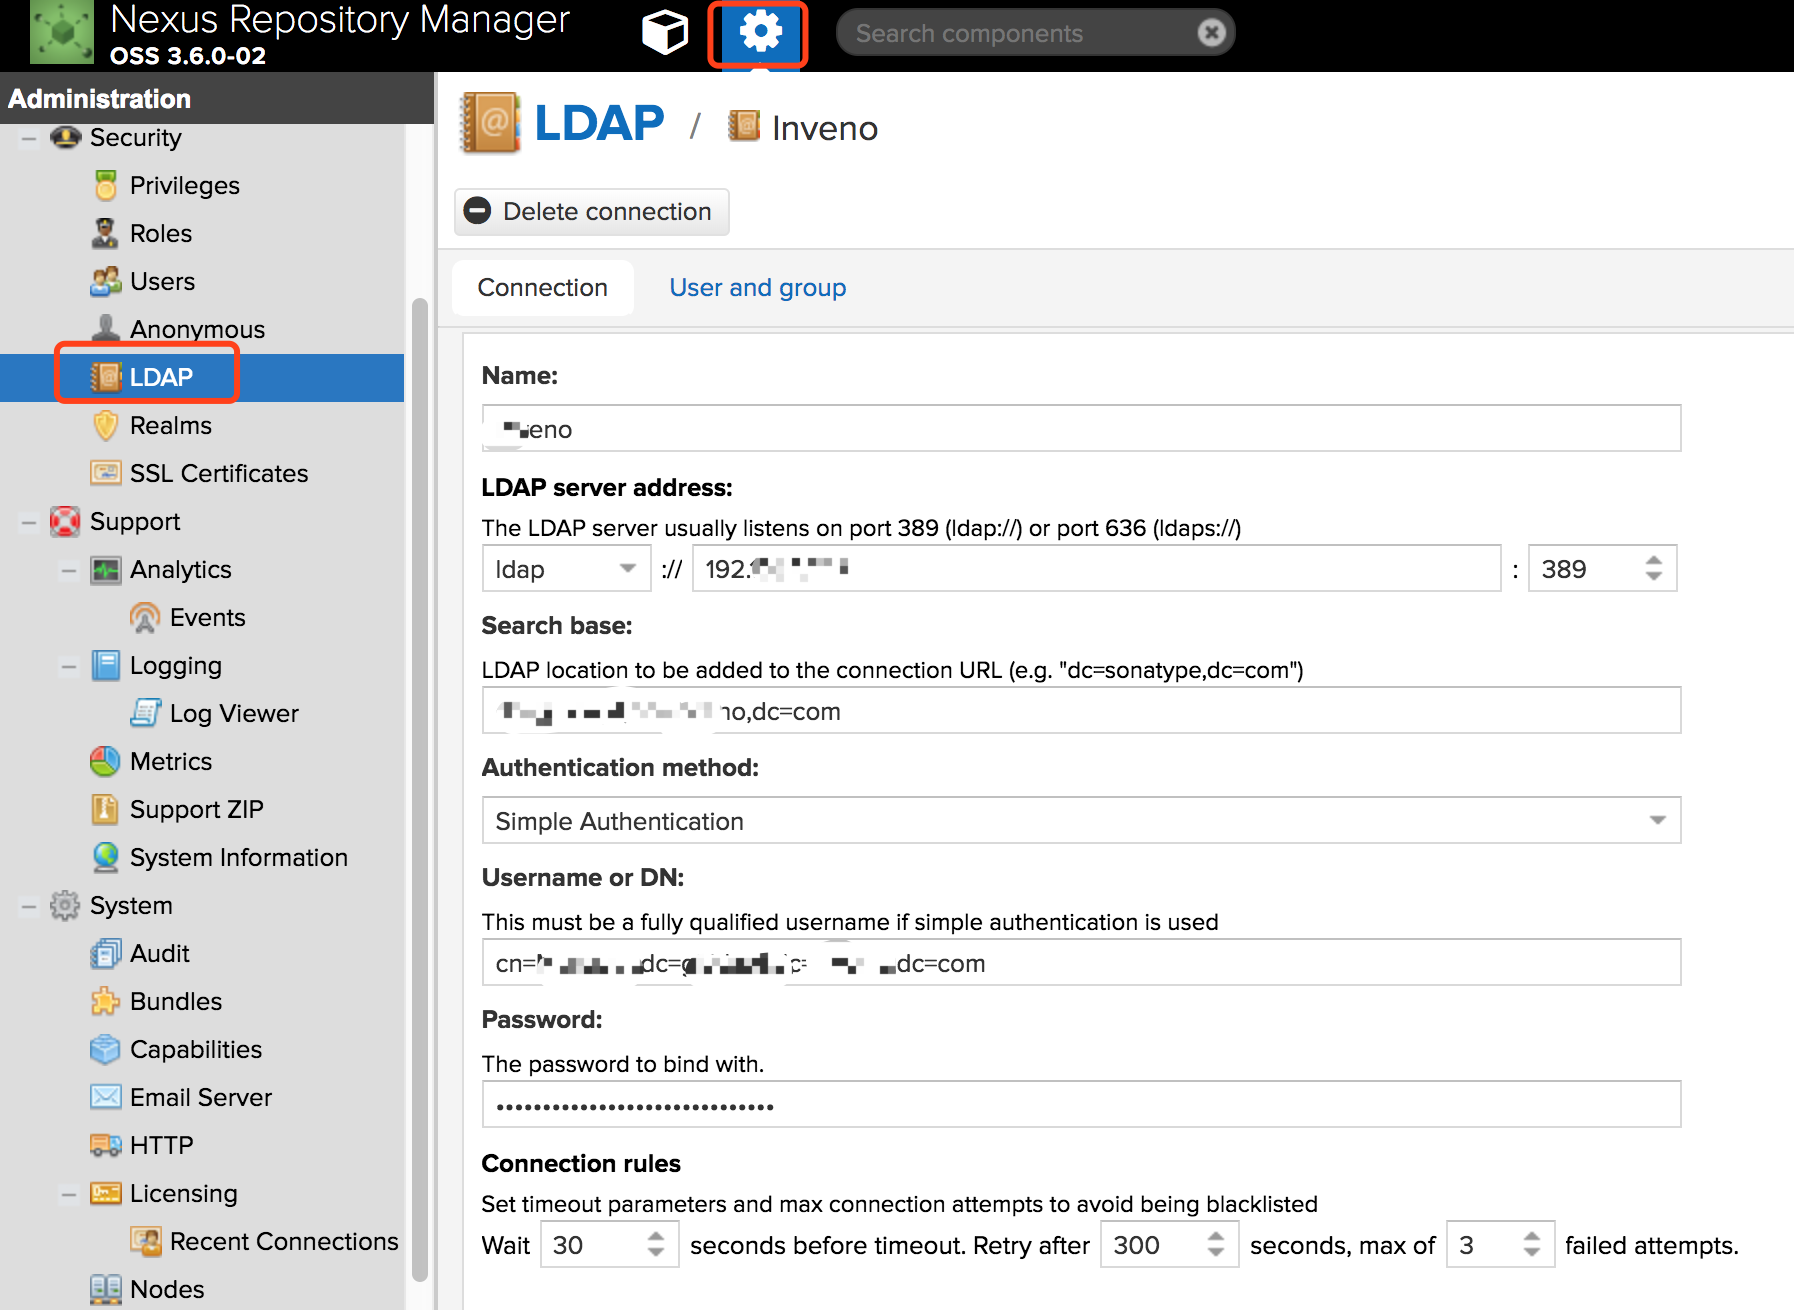
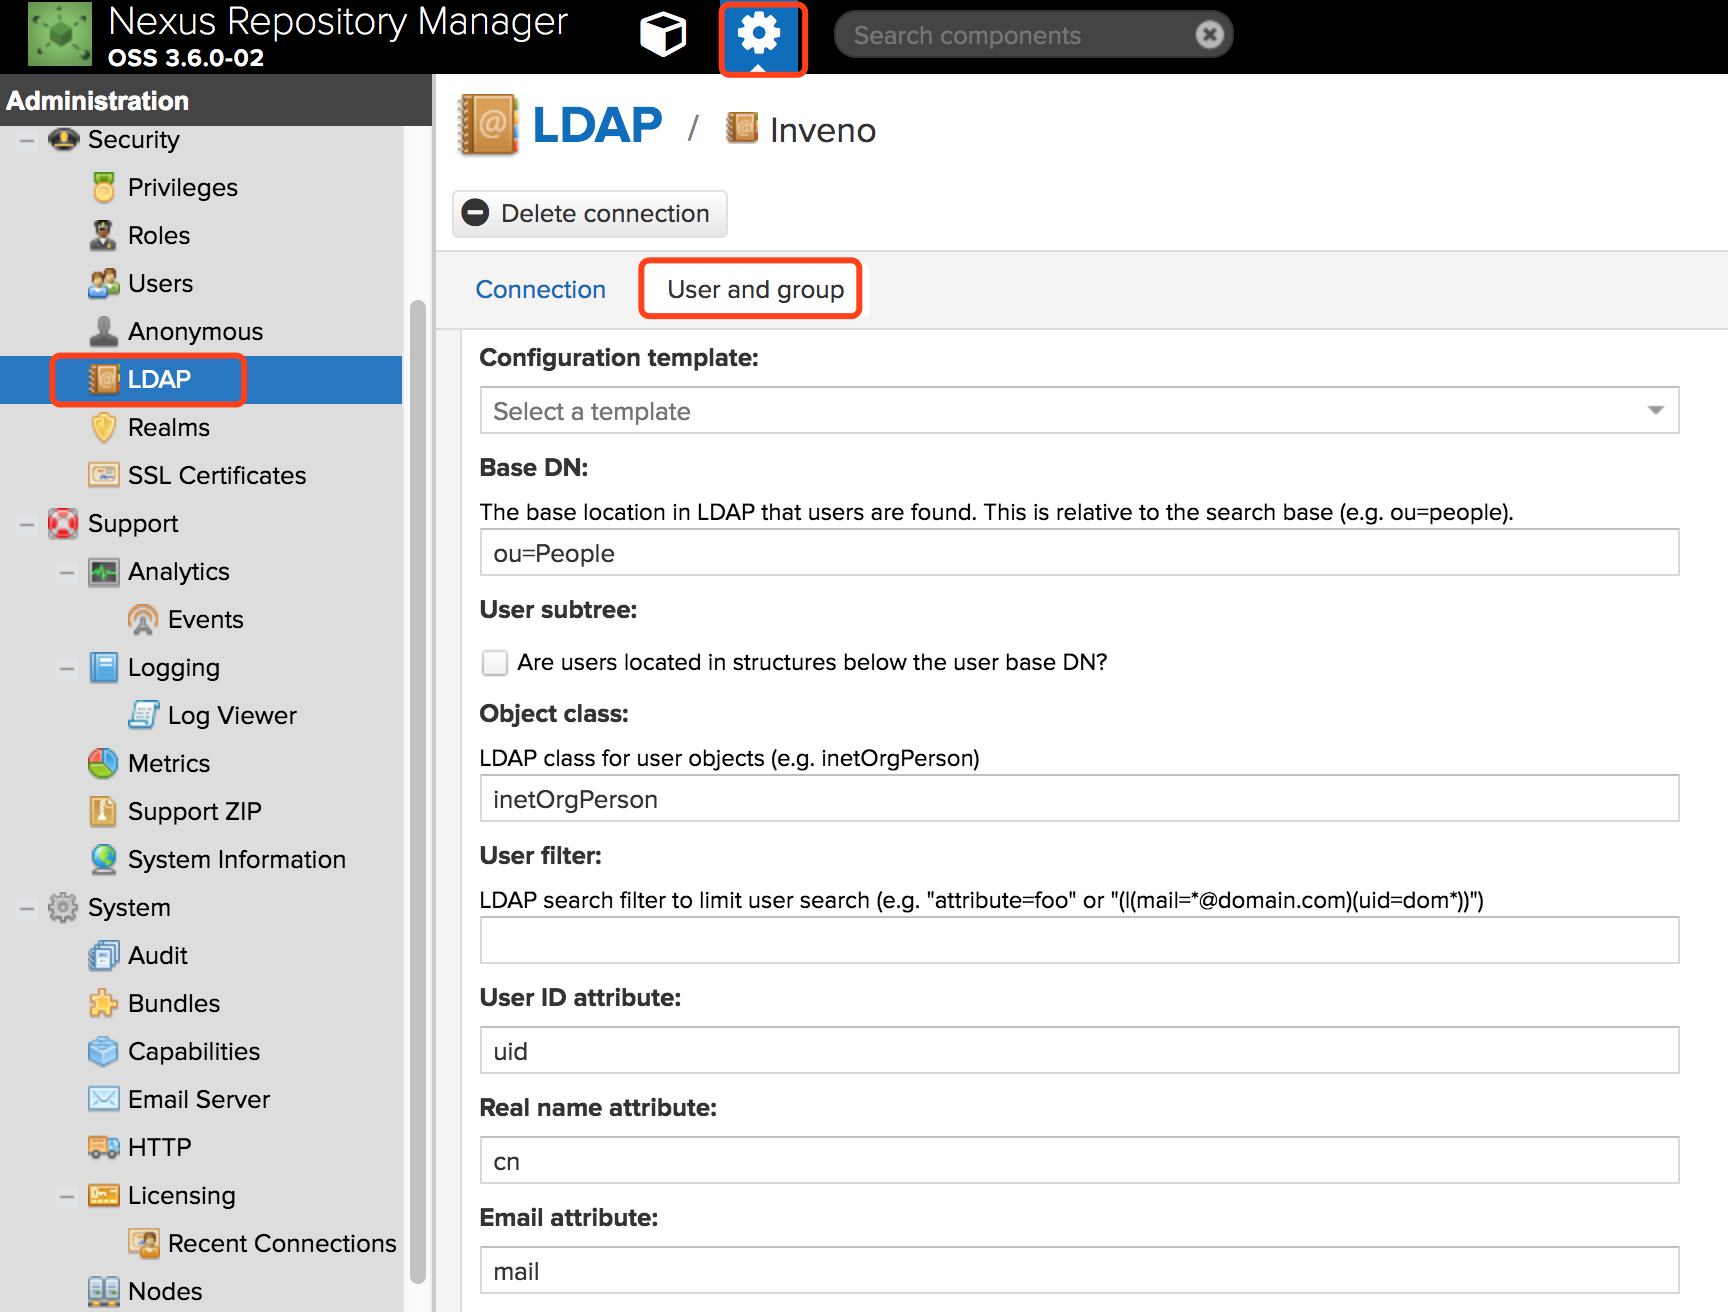
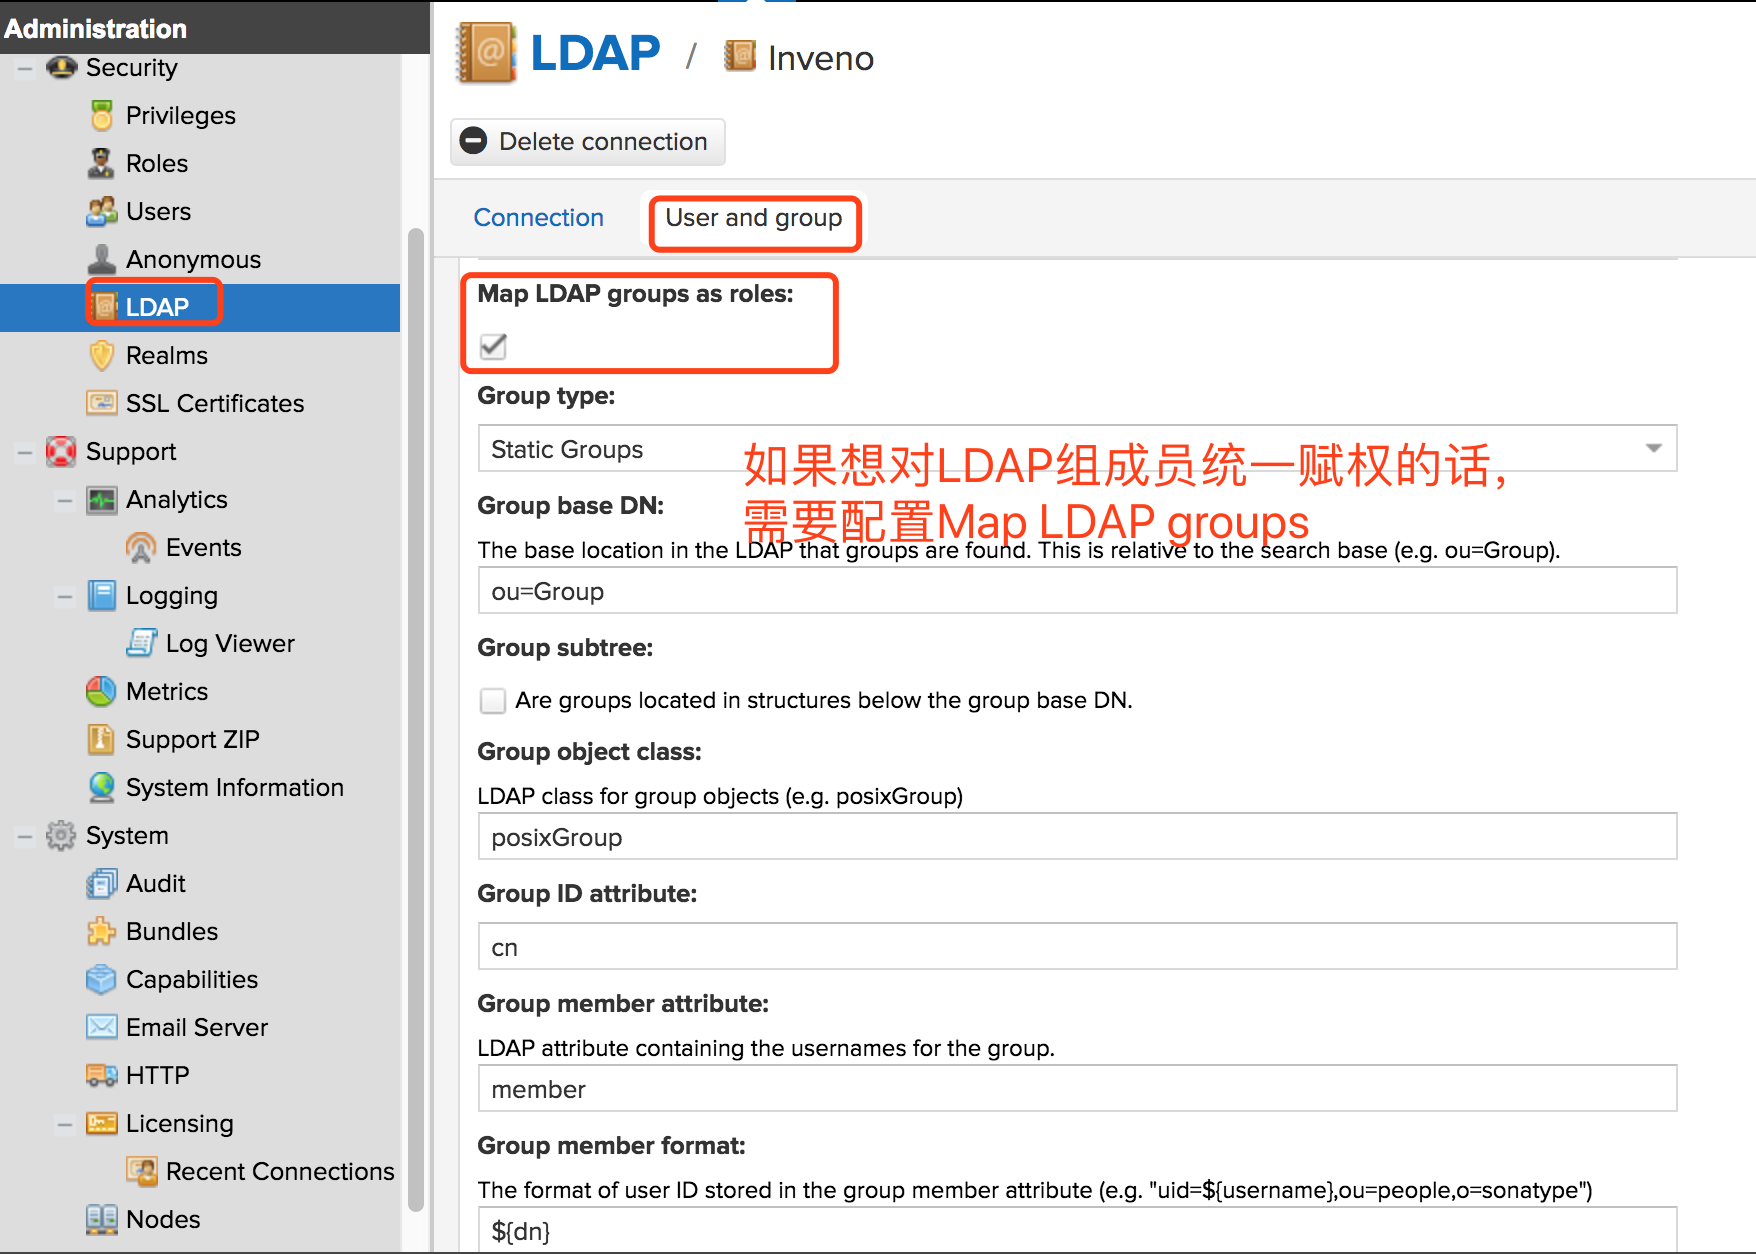
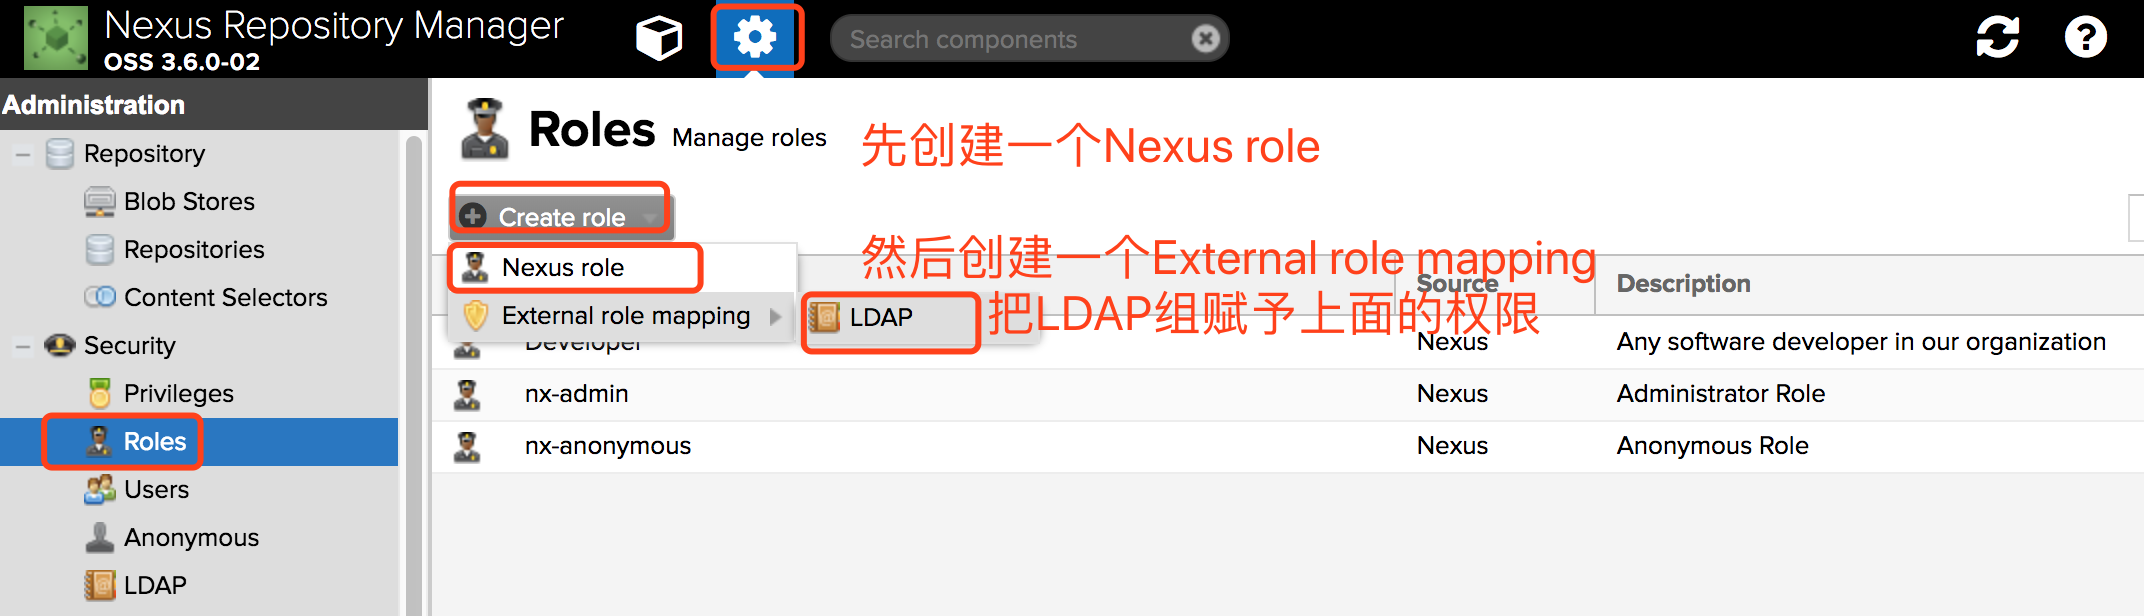
2. 权限配置:
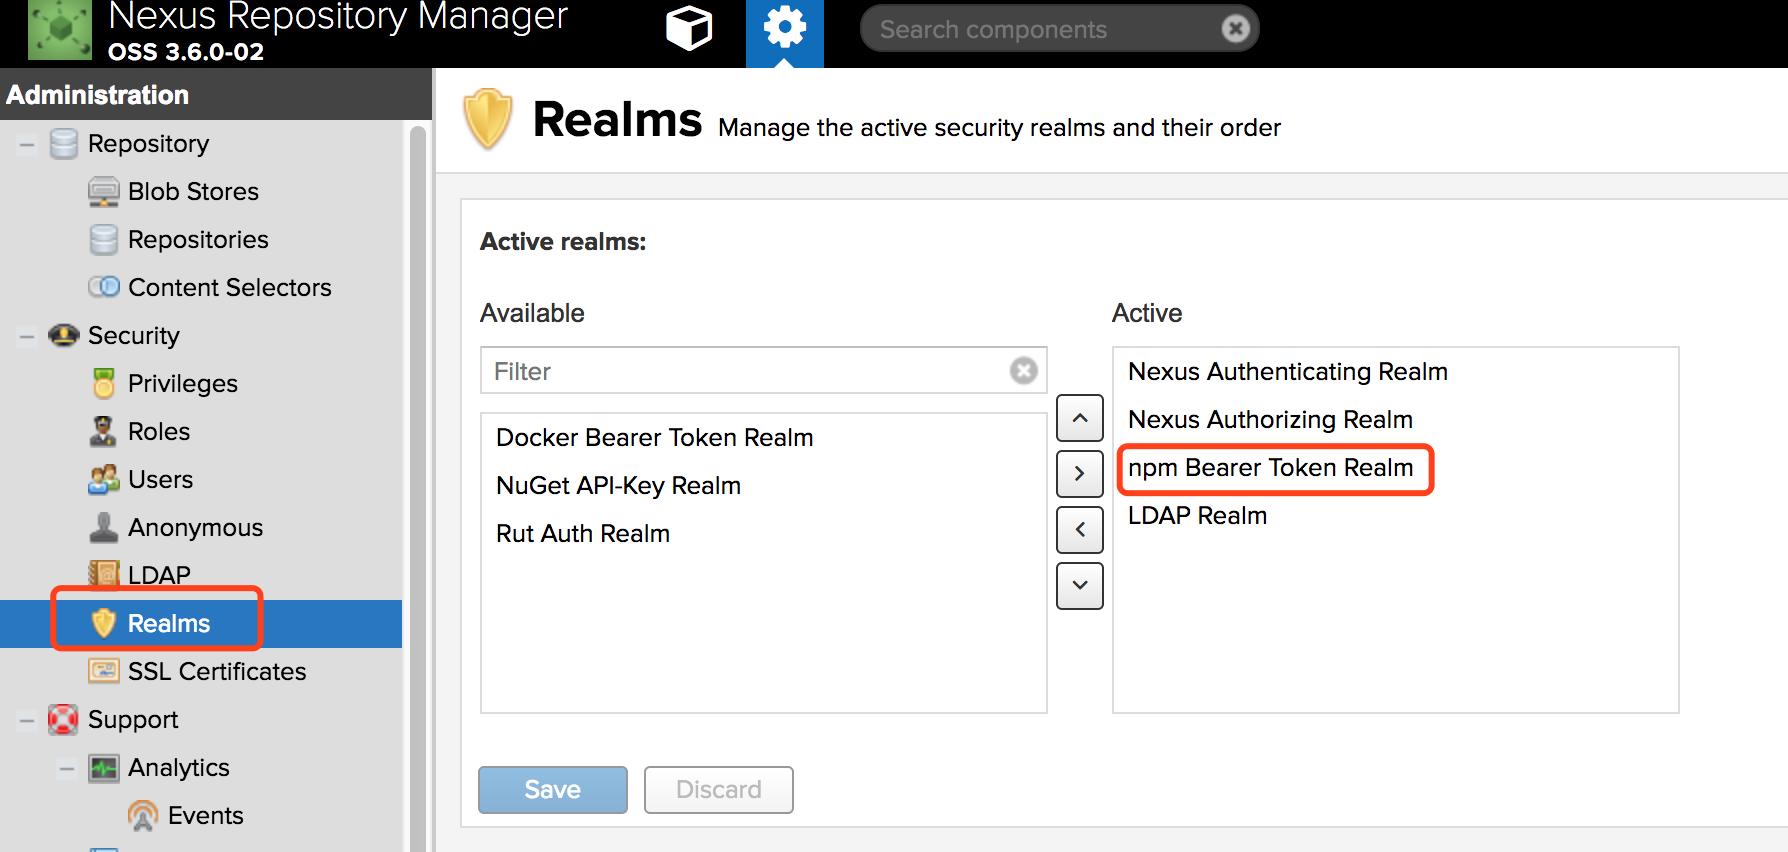
- 激活 npm Bearer Token Realm
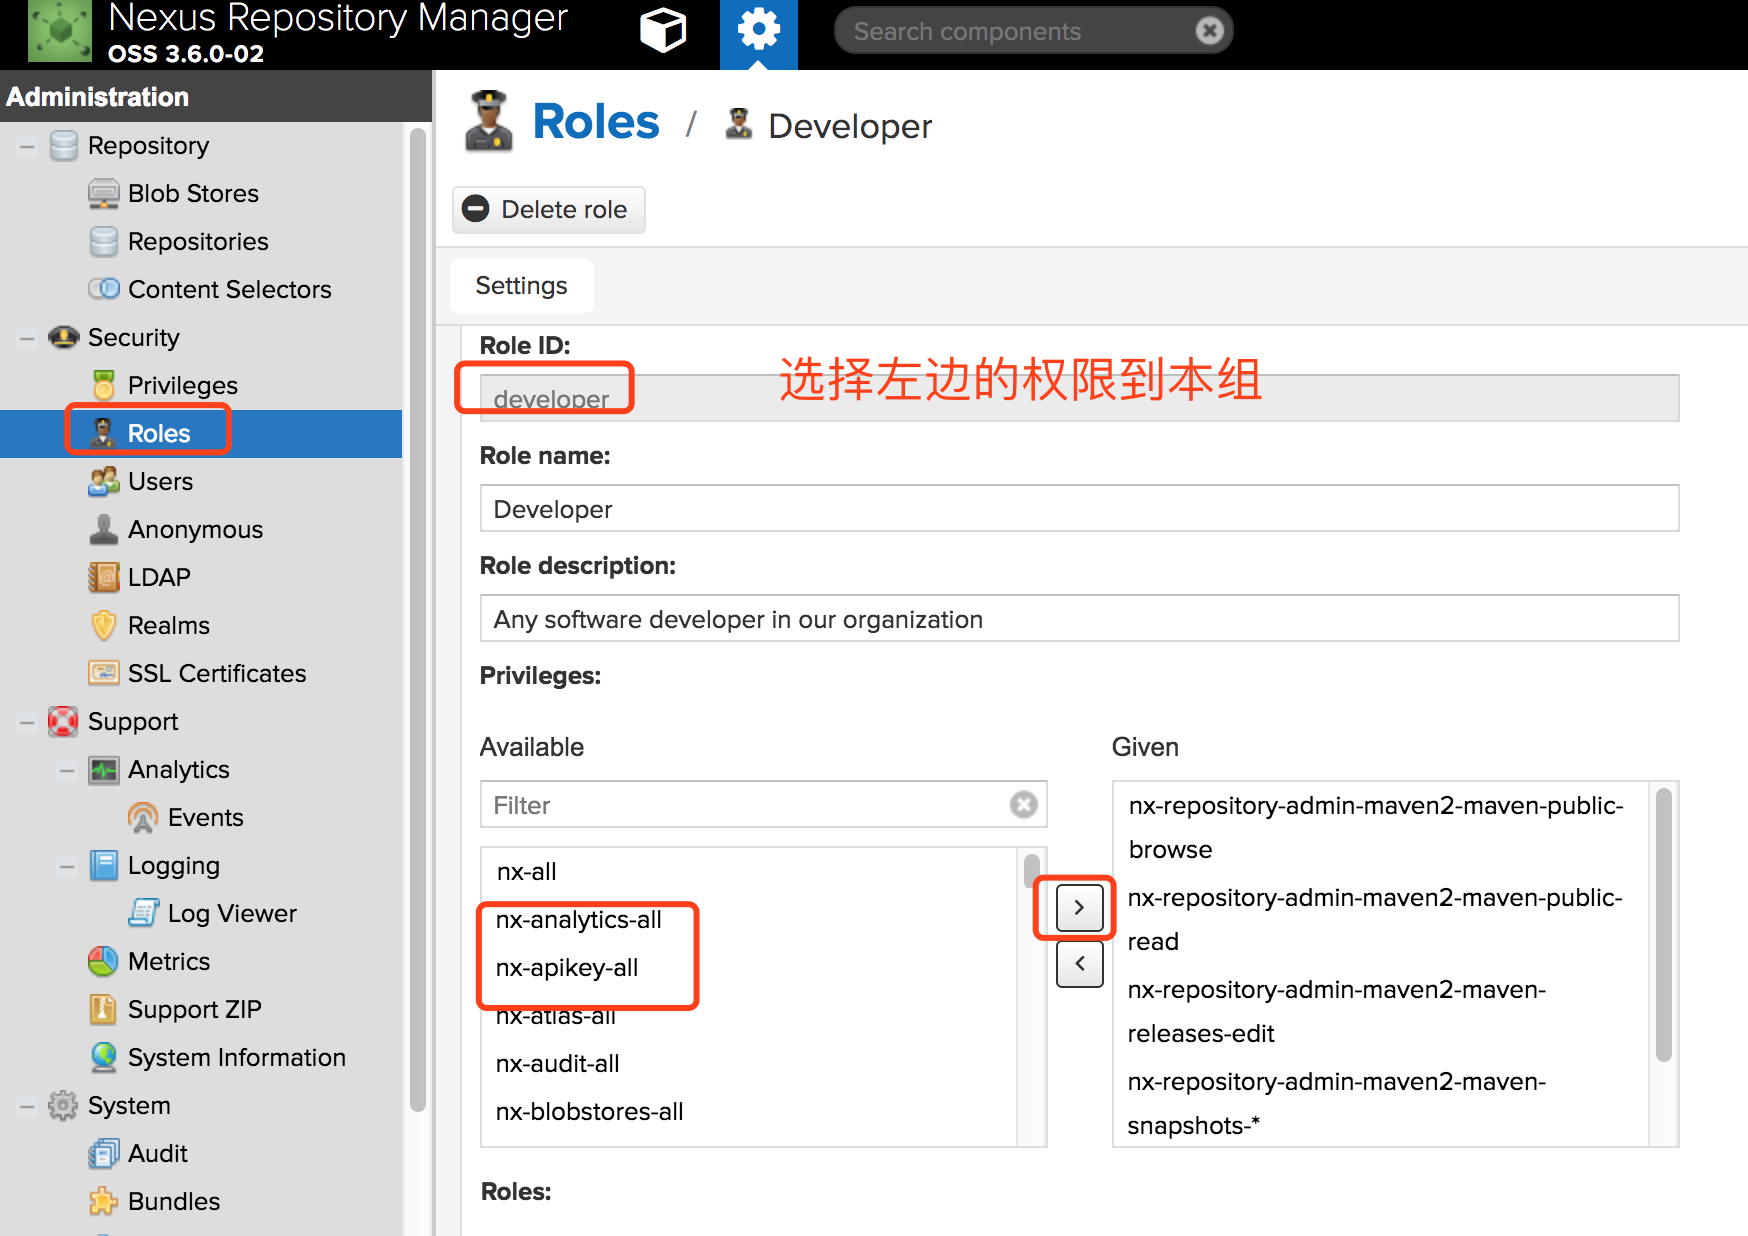
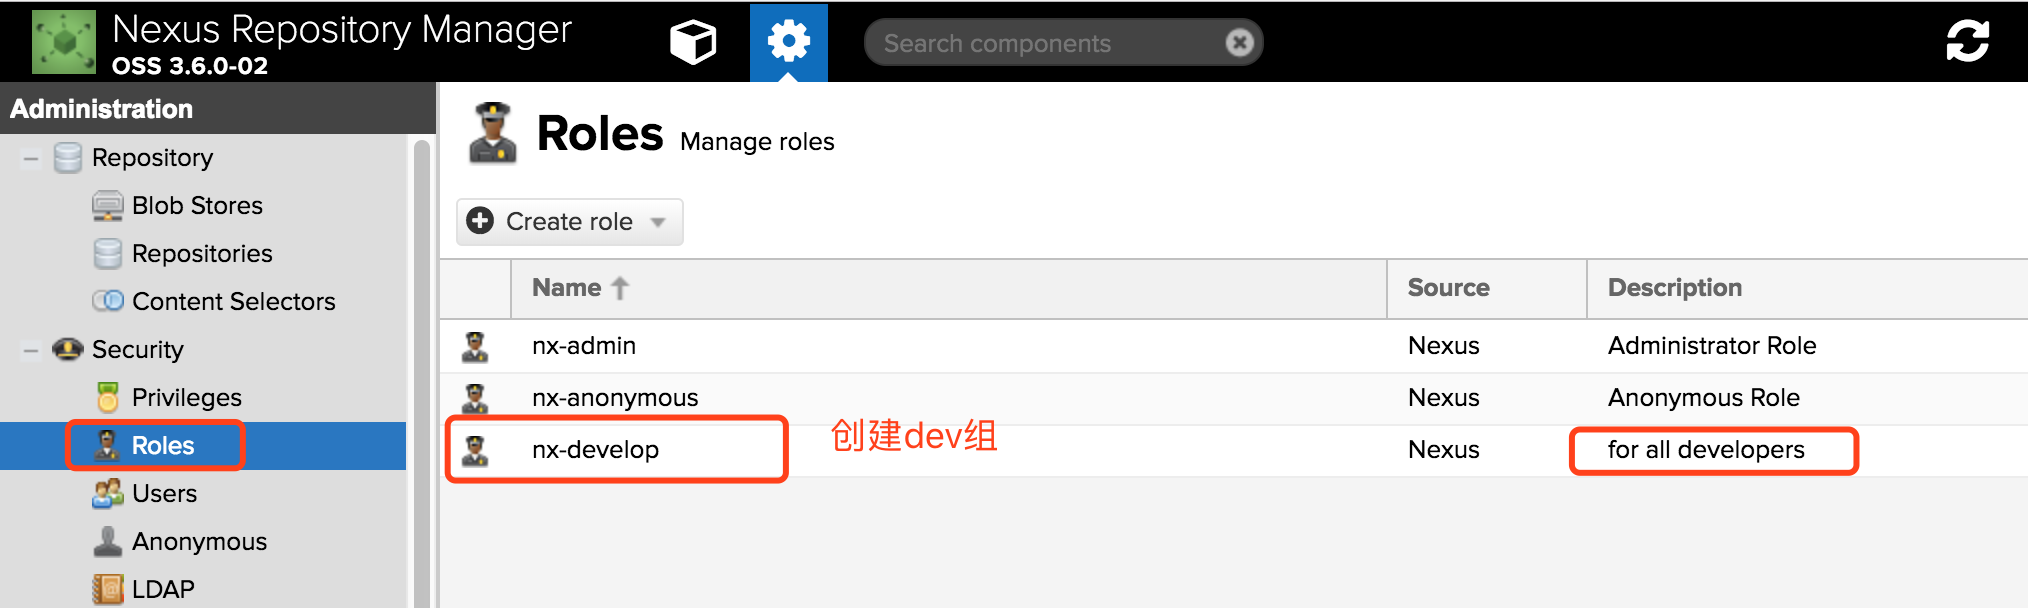
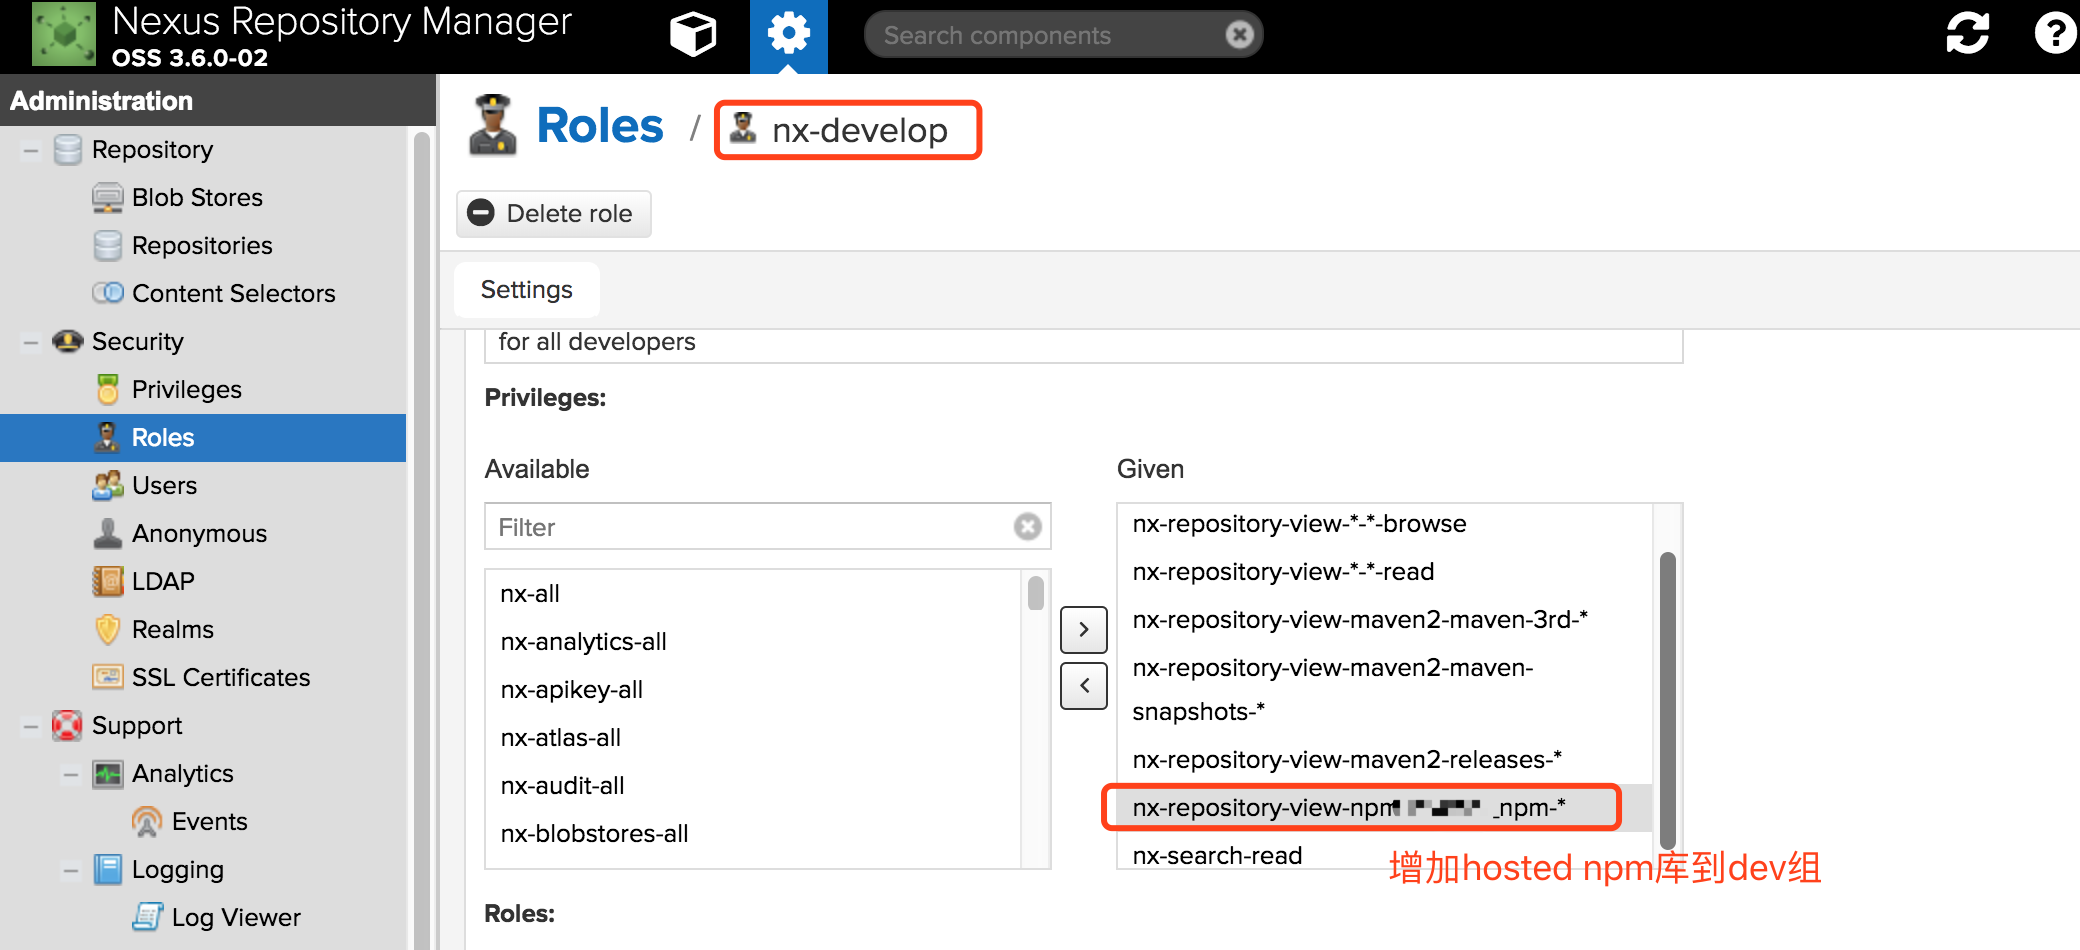
- 创建开发权限组对hosted npm私服库读写权限
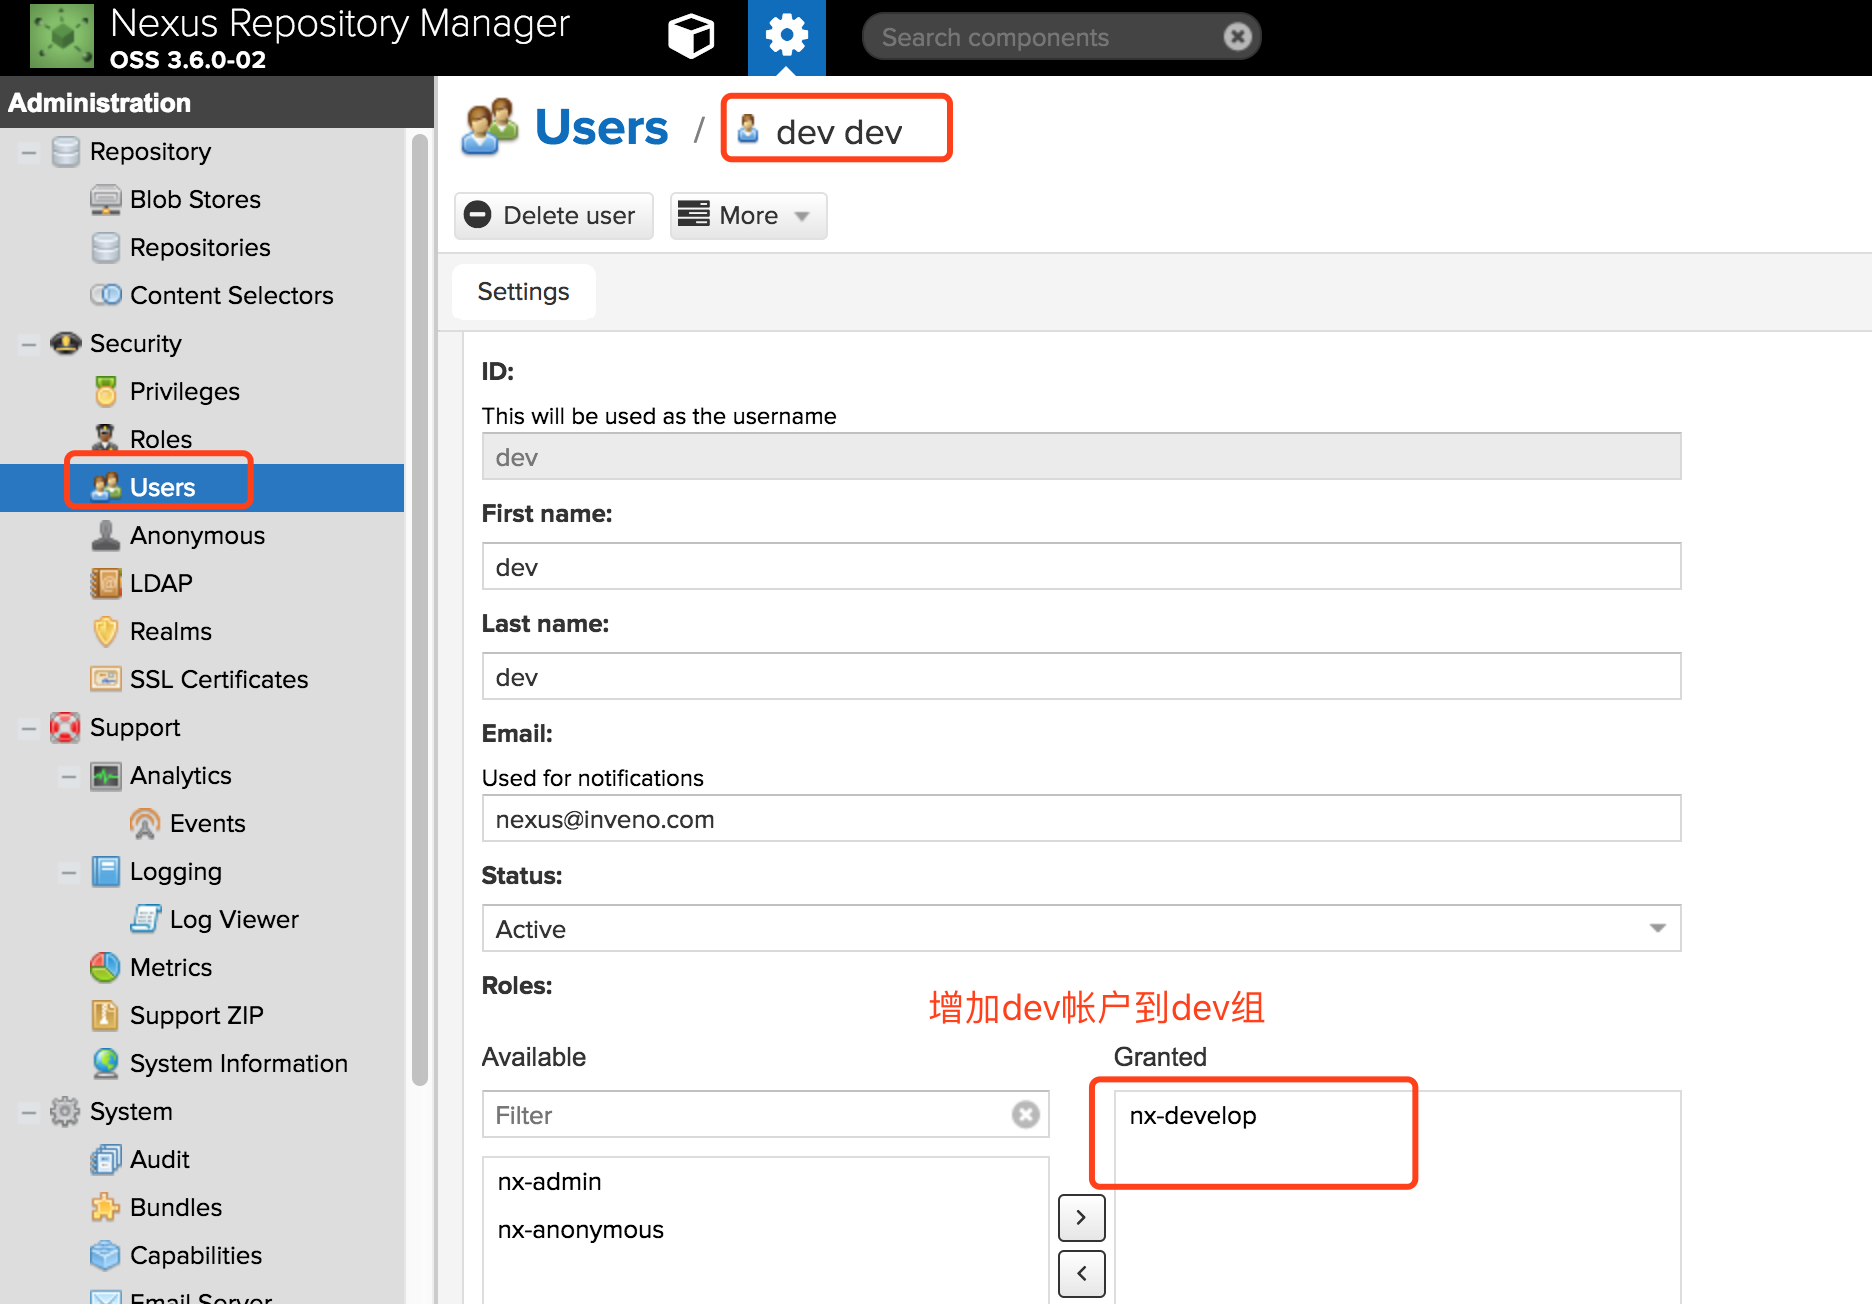
- 创建dev帐户并加入到开发权限组
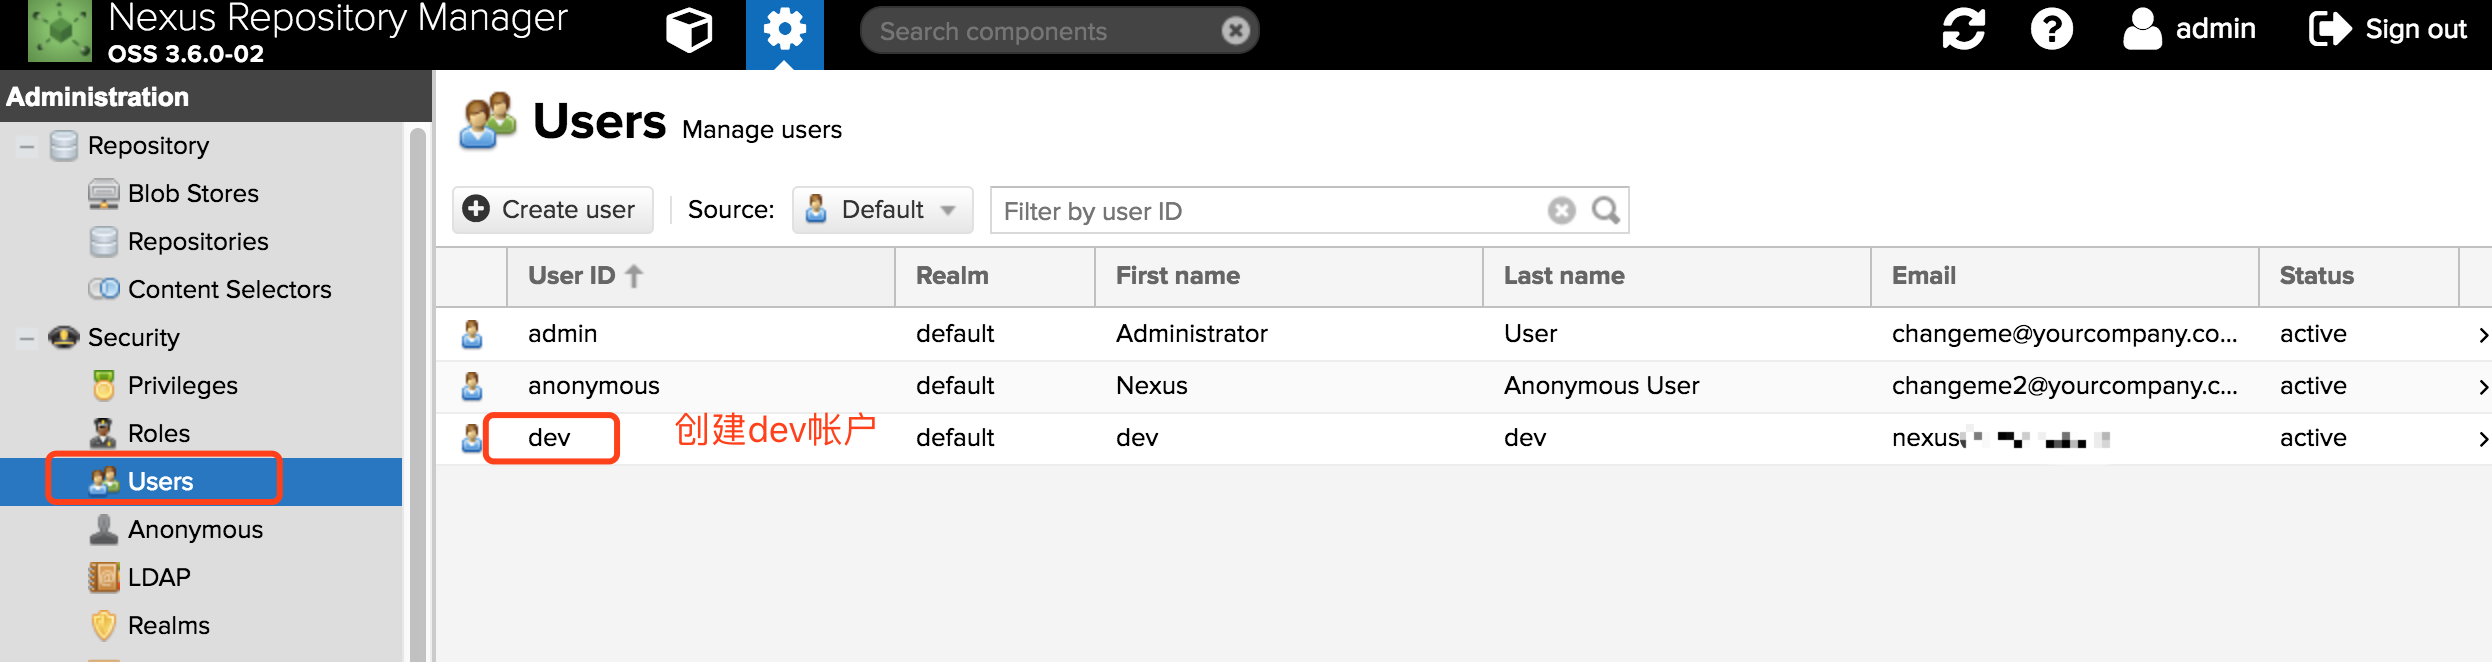
1 | PS: 匿名用户可以下载私服npm包,只有dev组内的帐户才能publish包到hosted私服 |
使用:
1.配置nexus私服
- 查看本机私服配置:
1
$ npm config get registry
- 设置本机配置到group私服:
1
2
$ npm config set registry http://${ip}:8081/repository/${npm_group}/
(写入到本机.npmrc文件) - 此时,项目执行npm install即从nexus上面进行下载包
2.配置publish帐户
有👇两种方式
- Authentication Using Realm and Login
1
2
3
4
5
6
7
8
9
$ npm login --registry=http://${ip}:8081/repository/${npm_hosted}/
Username: dev (各位根据上面创建的帐户自行替换)
Password: ${dev_pass} (各位根据上面创建的密码自行替换)
Email: (this IS public) XXX@XXX.com (各位根据上面创建的邮箱自行替换)
Logged in as dev on http://${ip}:8081/repository/${npm_hosted}/.
(写入到本机.npmrc文件) - Authentication Using Basic Auth
1
2
3
4
5
6
7
8
9
$ echo -n 'dev:${dev_pass}' | openssl base64 (dev帐户密码base64编码)
本机.npmrc文件里面增加👇行
email=XXX@XXX.com
always-auth=true
_auth=${base64编码后的值}
3.推送npm包到nexus
有👇两种方式
命令行 + 发布路径
1
$ npm publish –registry http://${ip}:8081/repository/${npm_hosted}
package.json配置发布路径(推荐)
1
2
3
4
5
6
7
8
9
项目package.json增加👇配置:
"publishConfig" : {
"registry" : "http://${ip}:8081/repository/${npm_hosted}/"
},
执行👇命令即可
$ npm publish