背景:
dev准备更新某个基础数据库表结构,为了评估影响范围和后续通知协作,需要找出使用此表的代码库。
思路:
- 查询数据库的连接IP,根据IP查询部署在上面的服务,根据服务找对应代码库。
- 难点:
- 并不是所有服务都会实时连接数据库,可能会漏掉;
- 服务器上面部署的服务太多,还需要再做过滤。
- 综上,这个思路否定。
- 难点:
- 直接通过关键字查询代码库源码来定位。
- 难点:
- 需要拥有大范围的代码库权限
- 多目录文件查询涉及关键字文件
- 解决方案:
- 作为公司SCM权限不是问题
- 使用OpenGrok来做关键字查询
- 难点:
参考链接:
- OpenGrok:官方网站
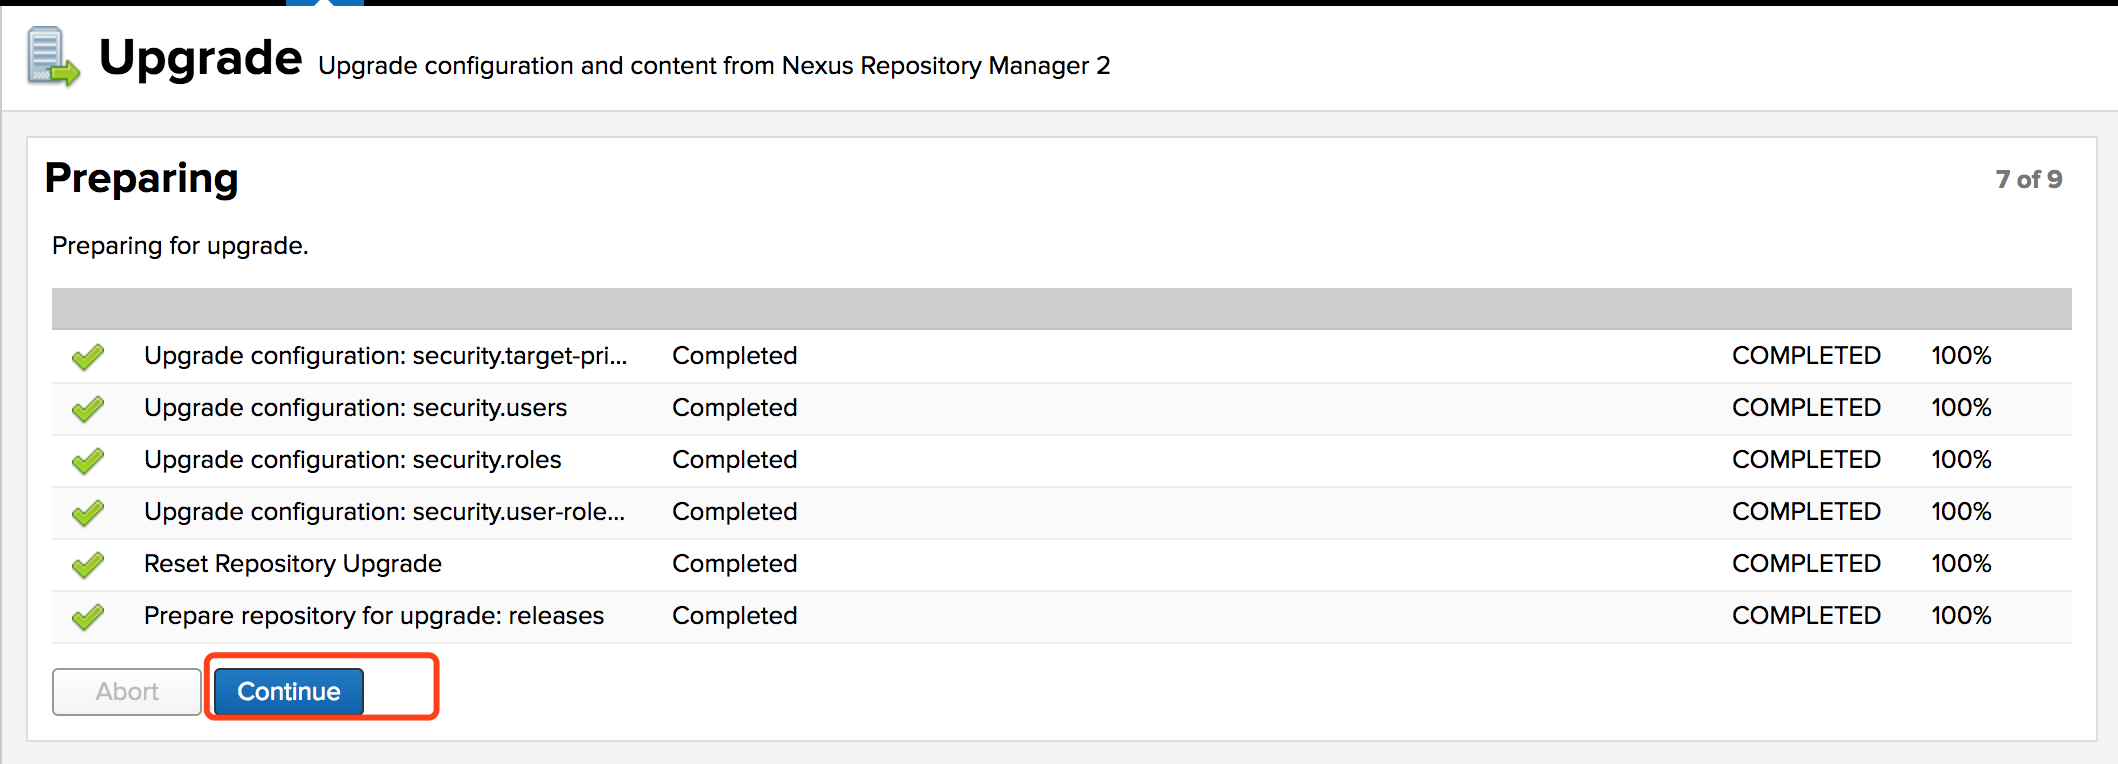
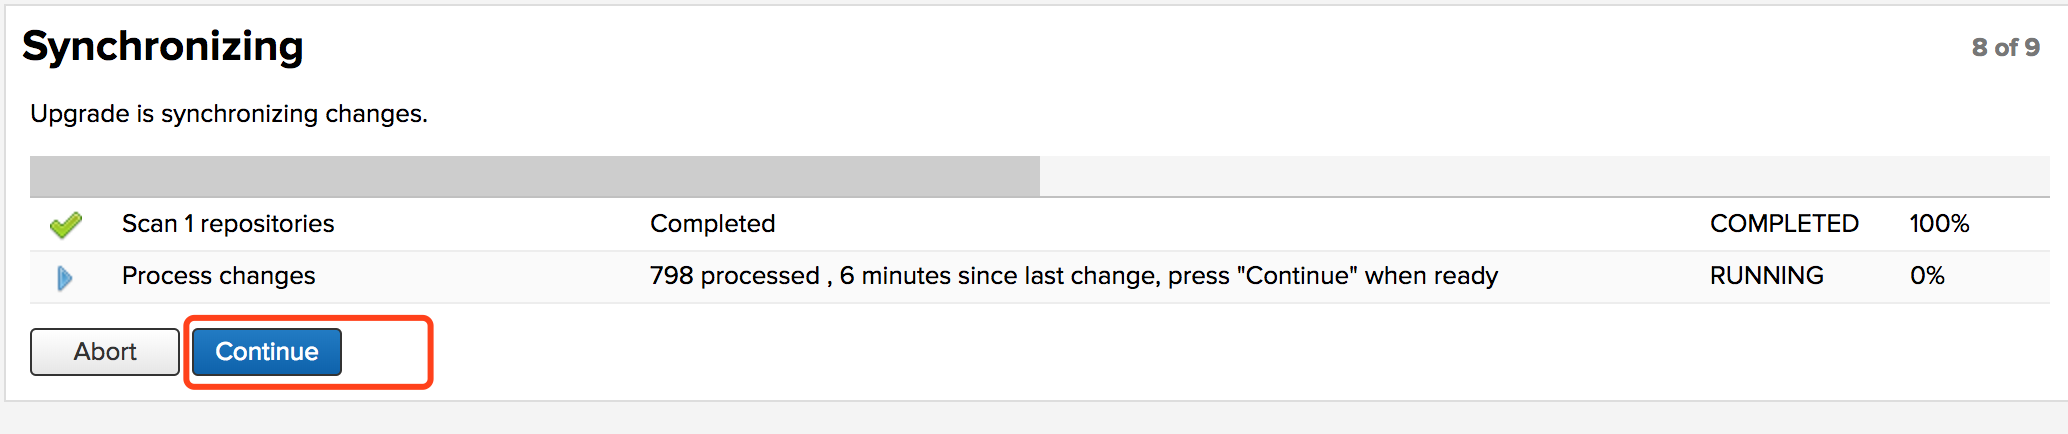
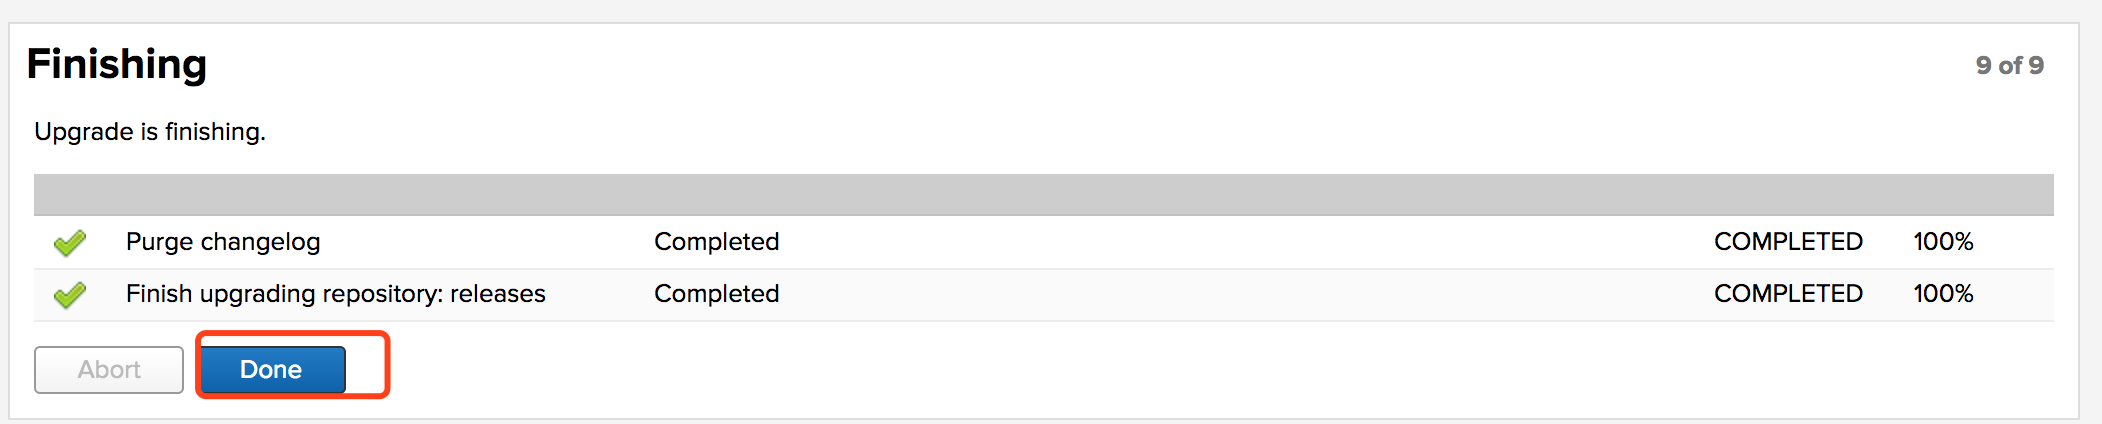
实施步骤:
- 搭建OpenGrok:
- 下载代码
- 创建一个公共代码库存放目录:
1
2$ mkdir -p /root/wwl/code/svn
$ mkdir -p /root/wwl/code/git - 根据需要下载svn代码:
1
2$ cd /root/wwl/code/svn
$ svn checkout svn_urls - 根据需要下载git代码:
1
2$ cd /root/wwl/code/git
$ git clone git_urls - PS:如果要想查询所有分支代码
- svn:直接checkout 包含branches目录url即可;
- git:需要clone多次git_url到不同目录,然后cd到各自目录执行git checkout branch_name;
- 建议只下载master/trunk和最新dev分支即可。
- 创建一个公共代码库存放目录:
- 加载OpenGrok索引 PS:如果代码文件很多的话,加载索引会很久。晚上执行第二天来看结果吧。
1
2
3
$ ./OpenGrok index <absolute_path_to_your_SRC_ROOT>
例如:
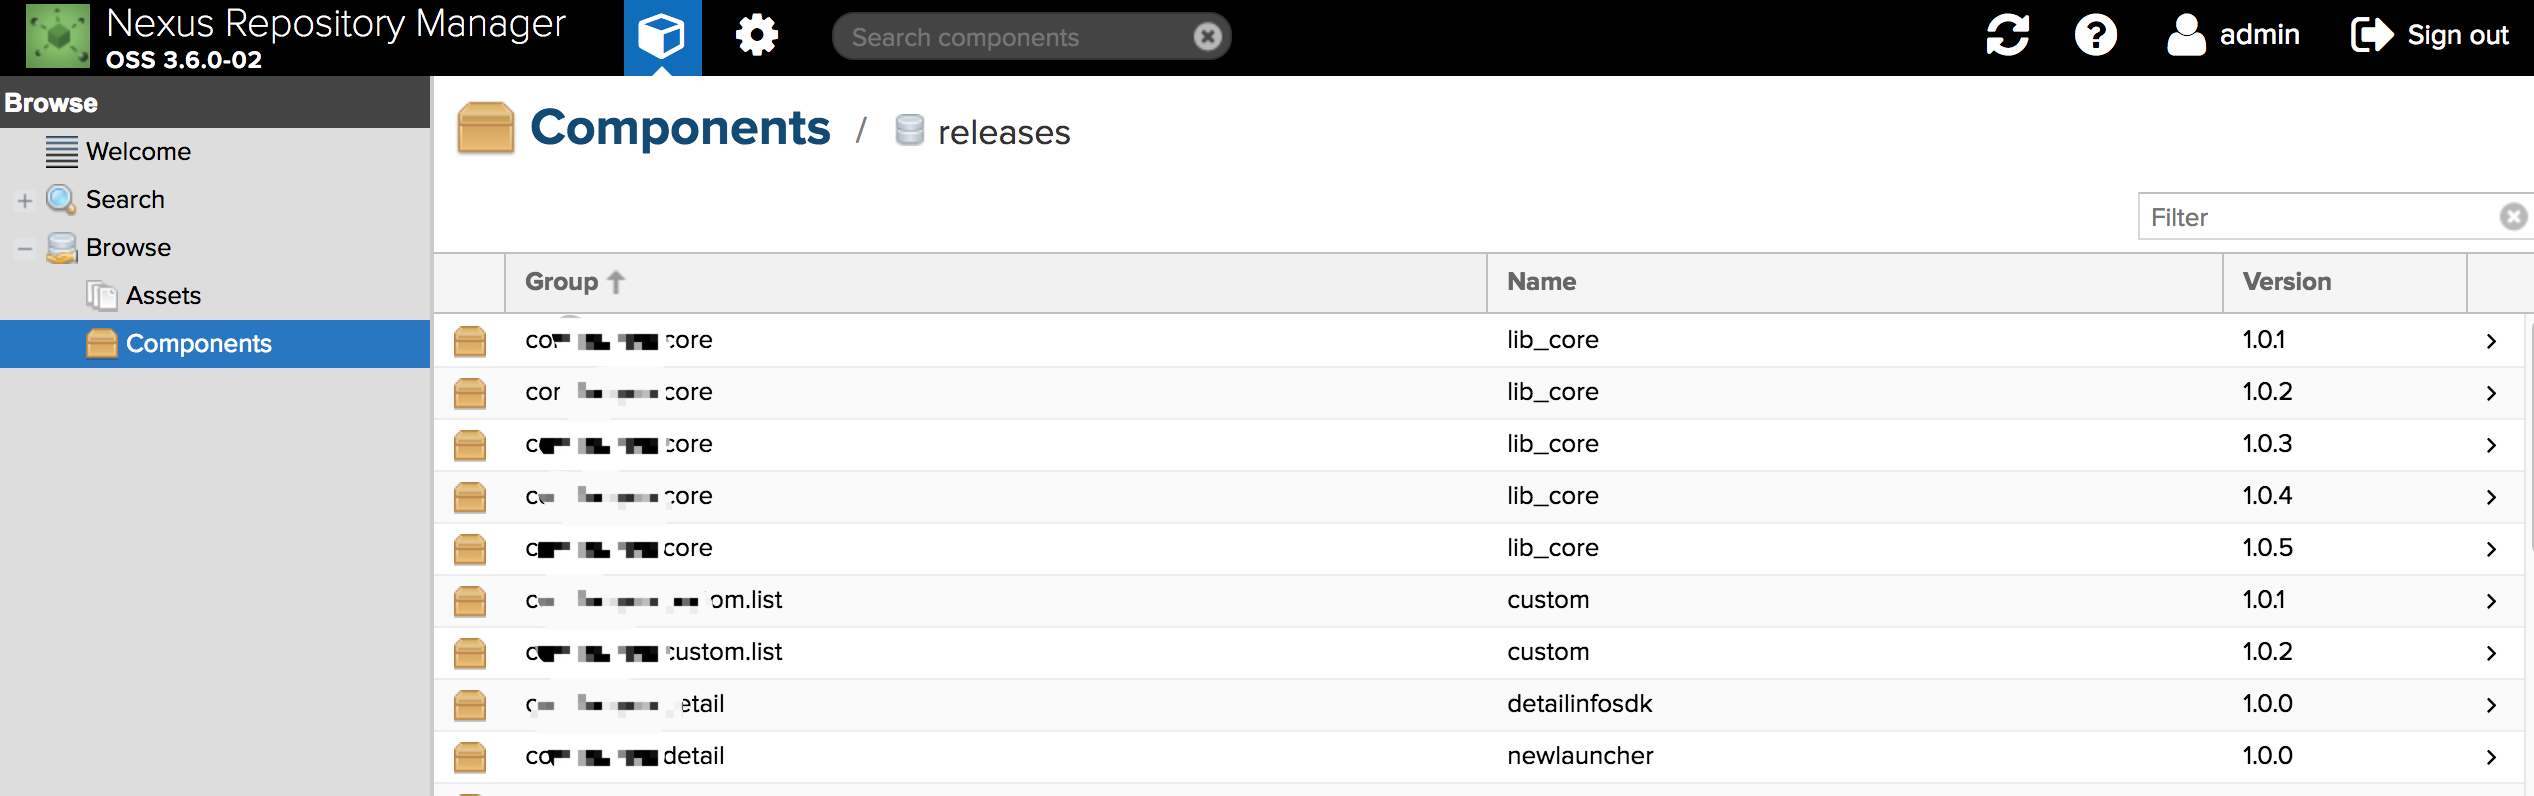
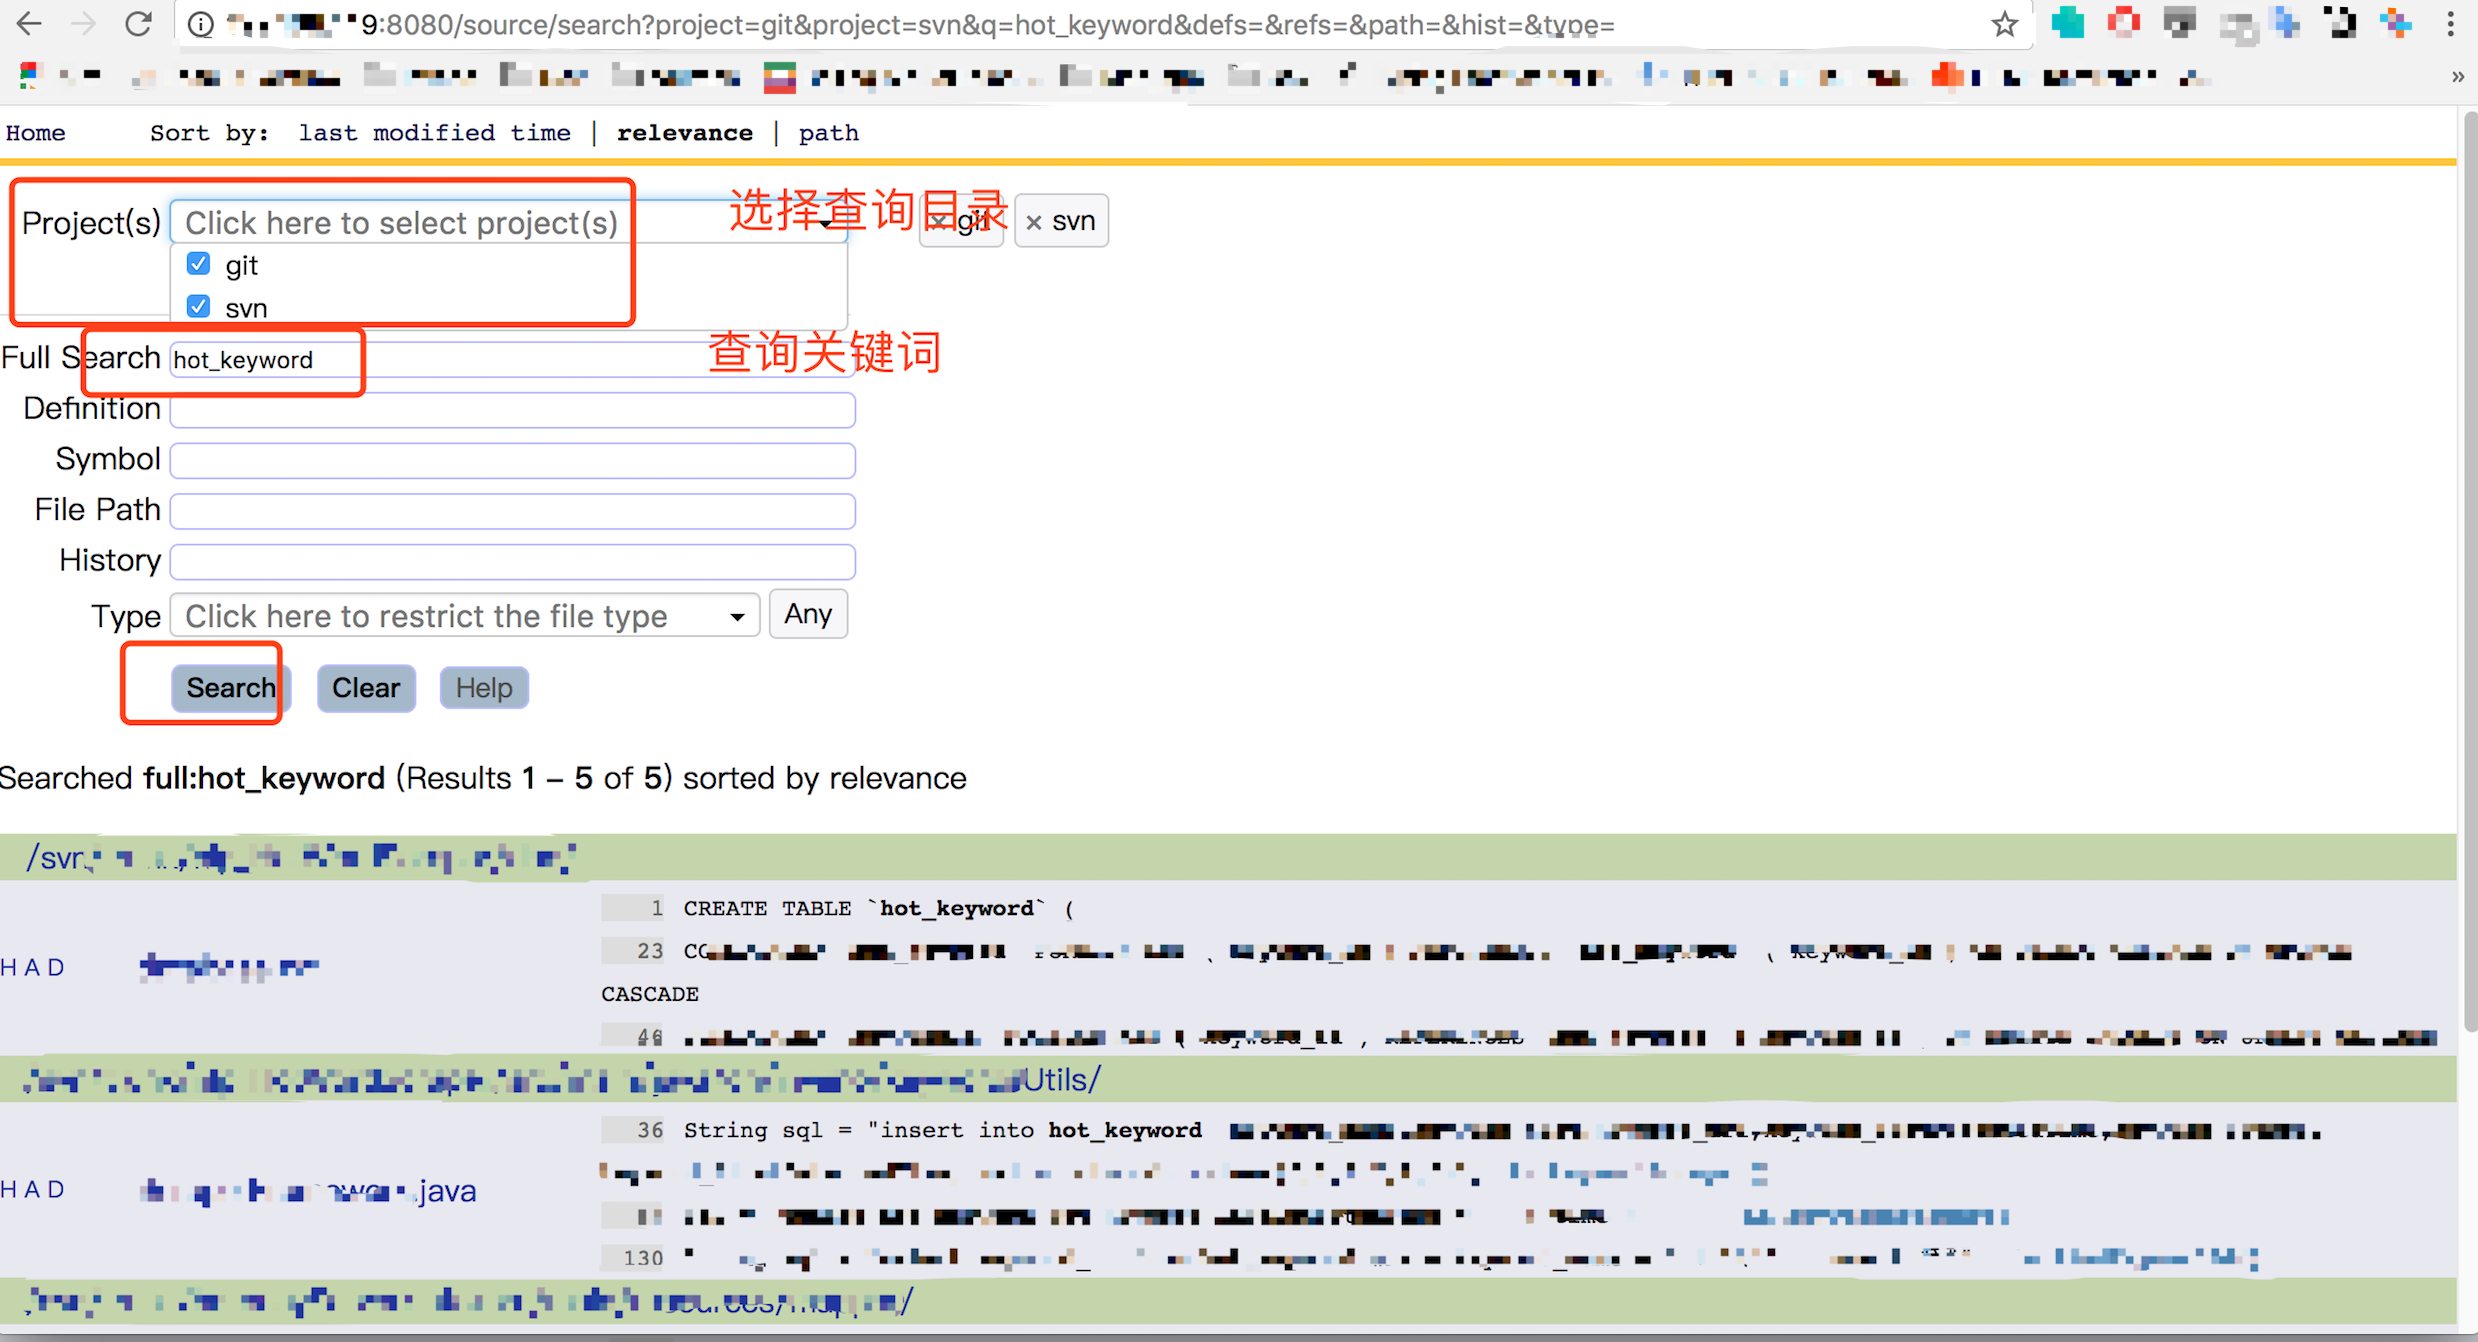
./OpenGrok index /root/wwl/code - 关键字查询
- web端登陆:
1
<HOST>:<PORT>/source
- 执行查询:
- web端登陆:
PS:
- OpenGrok还支持文件类型查询过滤等功能,各位可以自行尝试使用;
- 除了数据库表查询以外,常见的还有api调用查询;
- 这种方案是后置的,如果能在系统设计之初和迭代过程积极维护开发文档,形成系统整体调度架构图形的话,会另我们开发更加自信;
- 借此机会推动开发团队规范开发文档和产出系统调度架构图形。